Category Archives: Recipes

Voila! Chicken Marsala!

So, by now you all know that I love food.  Love it.  It wasn’t always that way—I was the oldest of six sisters, and I grew up making food in “vats” … pretty much how I do it now.  😉

In 1997, I was introduced to Chicken Marsala at a wonderful little Italian restaurant in NW Portland, Oregon. I was hooked—because it was so good—AND because the chef winked and told me, “You can do this at home and save $60.”  Sign me up for THAT.

Since then, we’ve been working on our own variation of this wonderful dish.

Here it is.  Enjoy!

Screen Shot 2013-08-12 at 9.11.17 PM
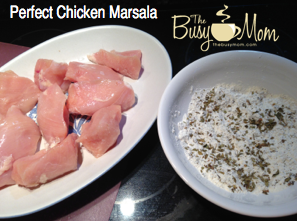
Hard to tell, but this is a Rubbermaid bin. I dredge things in it.  It’s perfect for dredging. I like that word.  Dredge.    The pretty bowl won out for the picture below though:
Screen Shot 2013-08-12 at 10.52.20 PM

Go ahead and drag your lovely chicken pieces through this yummy flour mixture.  You can do it.

Flour coated

Now, cook them in some coconut oil or butter.  Yum.  Yeah. That’s right.  Just brown them on both sides.  By now it’s going to start smelling really good in your kitchen.

Screen Shot 2013-08-12 at 9.23.04 PM

Take your chicken out and set it aside. In the same skillet, start to sauté your mushrooms.  Double-yum.

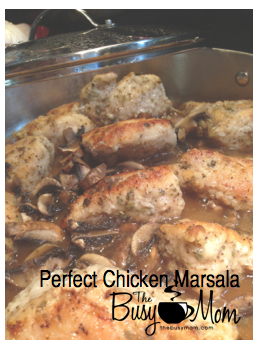
Pour in the sherry and marsala.  You don’t need the sherry.  But it sure tastes great if you have it.  I got so excited about taking a picture of this that I added the chicken back before adding the wine.  Normally, I make my sauce and then add the chicken back in. It’s easier to whisk a sauce when you’re not bumping into big chicken pieces.
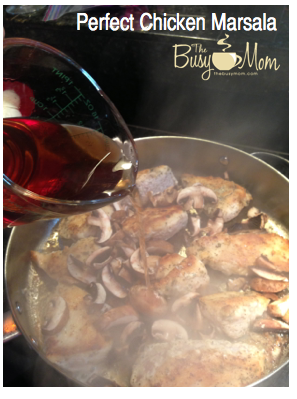
Add marsala wine

Screen Shot 2013-08-12 at 9.22.54 PM

After you’ve added your wine and made a lovely sauce, lean over your skillet.  Doesn’t that smell great?

Okay. Add the chicken back in.  Turn the heat down to low. Cover and let simmer for about ten minutes.

I like to serve this with roasted red potatoes and steamed veggies.  {yum.}  Come to think of it, I’ll post how I do that pretty soon.  I’m a roasted red potato fanatic.
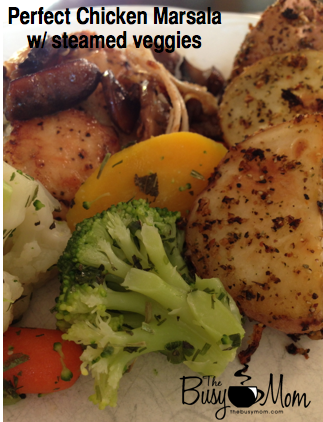
final meal

Here’s the skinny on this delicious dish:

Ingredients

  • 4 skinless boneless chicken breast halves (I double this recipe every time.)
  • 4 Tbsp coconut oil
  • 1 Cup sliced mushrooms
  • 1/2 cup Marsla wine
  • 1/4 cup cooking sherry
  • 1/4 cup flour
  • 1/2 tsp salt
  • 2 tsp thyme
  • 1 tsp dried oregano

How to make it:

  1. In a bowl, mix together  flour, garlic salt, pepper, thyme and oregano.
  2. Coat chicken pieces in flour mixture.
  3. Take a large skillet add coconut oil and heat over medium heat
  4. Place the chicken and lightly brown on both sides.
  5. Take chicken out and set aside.
  6. Add mushrooms to same skillet, add 1 T more coconut oil, sauté
  7. Pour wine and sherry and cover skillet. Whisk until creamy.  If you need to, you can thicken with flour.
  8. Put chicken back in.
  9. Simmer chicken 10 min and turn over.
  10. Cook for another 5 min or until no longer pink

Easy, peasy!

Three cheers for CHICKEN MARSALA!
signature-heidi


Strawberry-Rhubarb Cobbler {yum}

Rhubarb Cobbler


I am a lover of all things rhubarb. It reminds me of summers long-past—of Big Wheels and pig tails.  You get the idea.

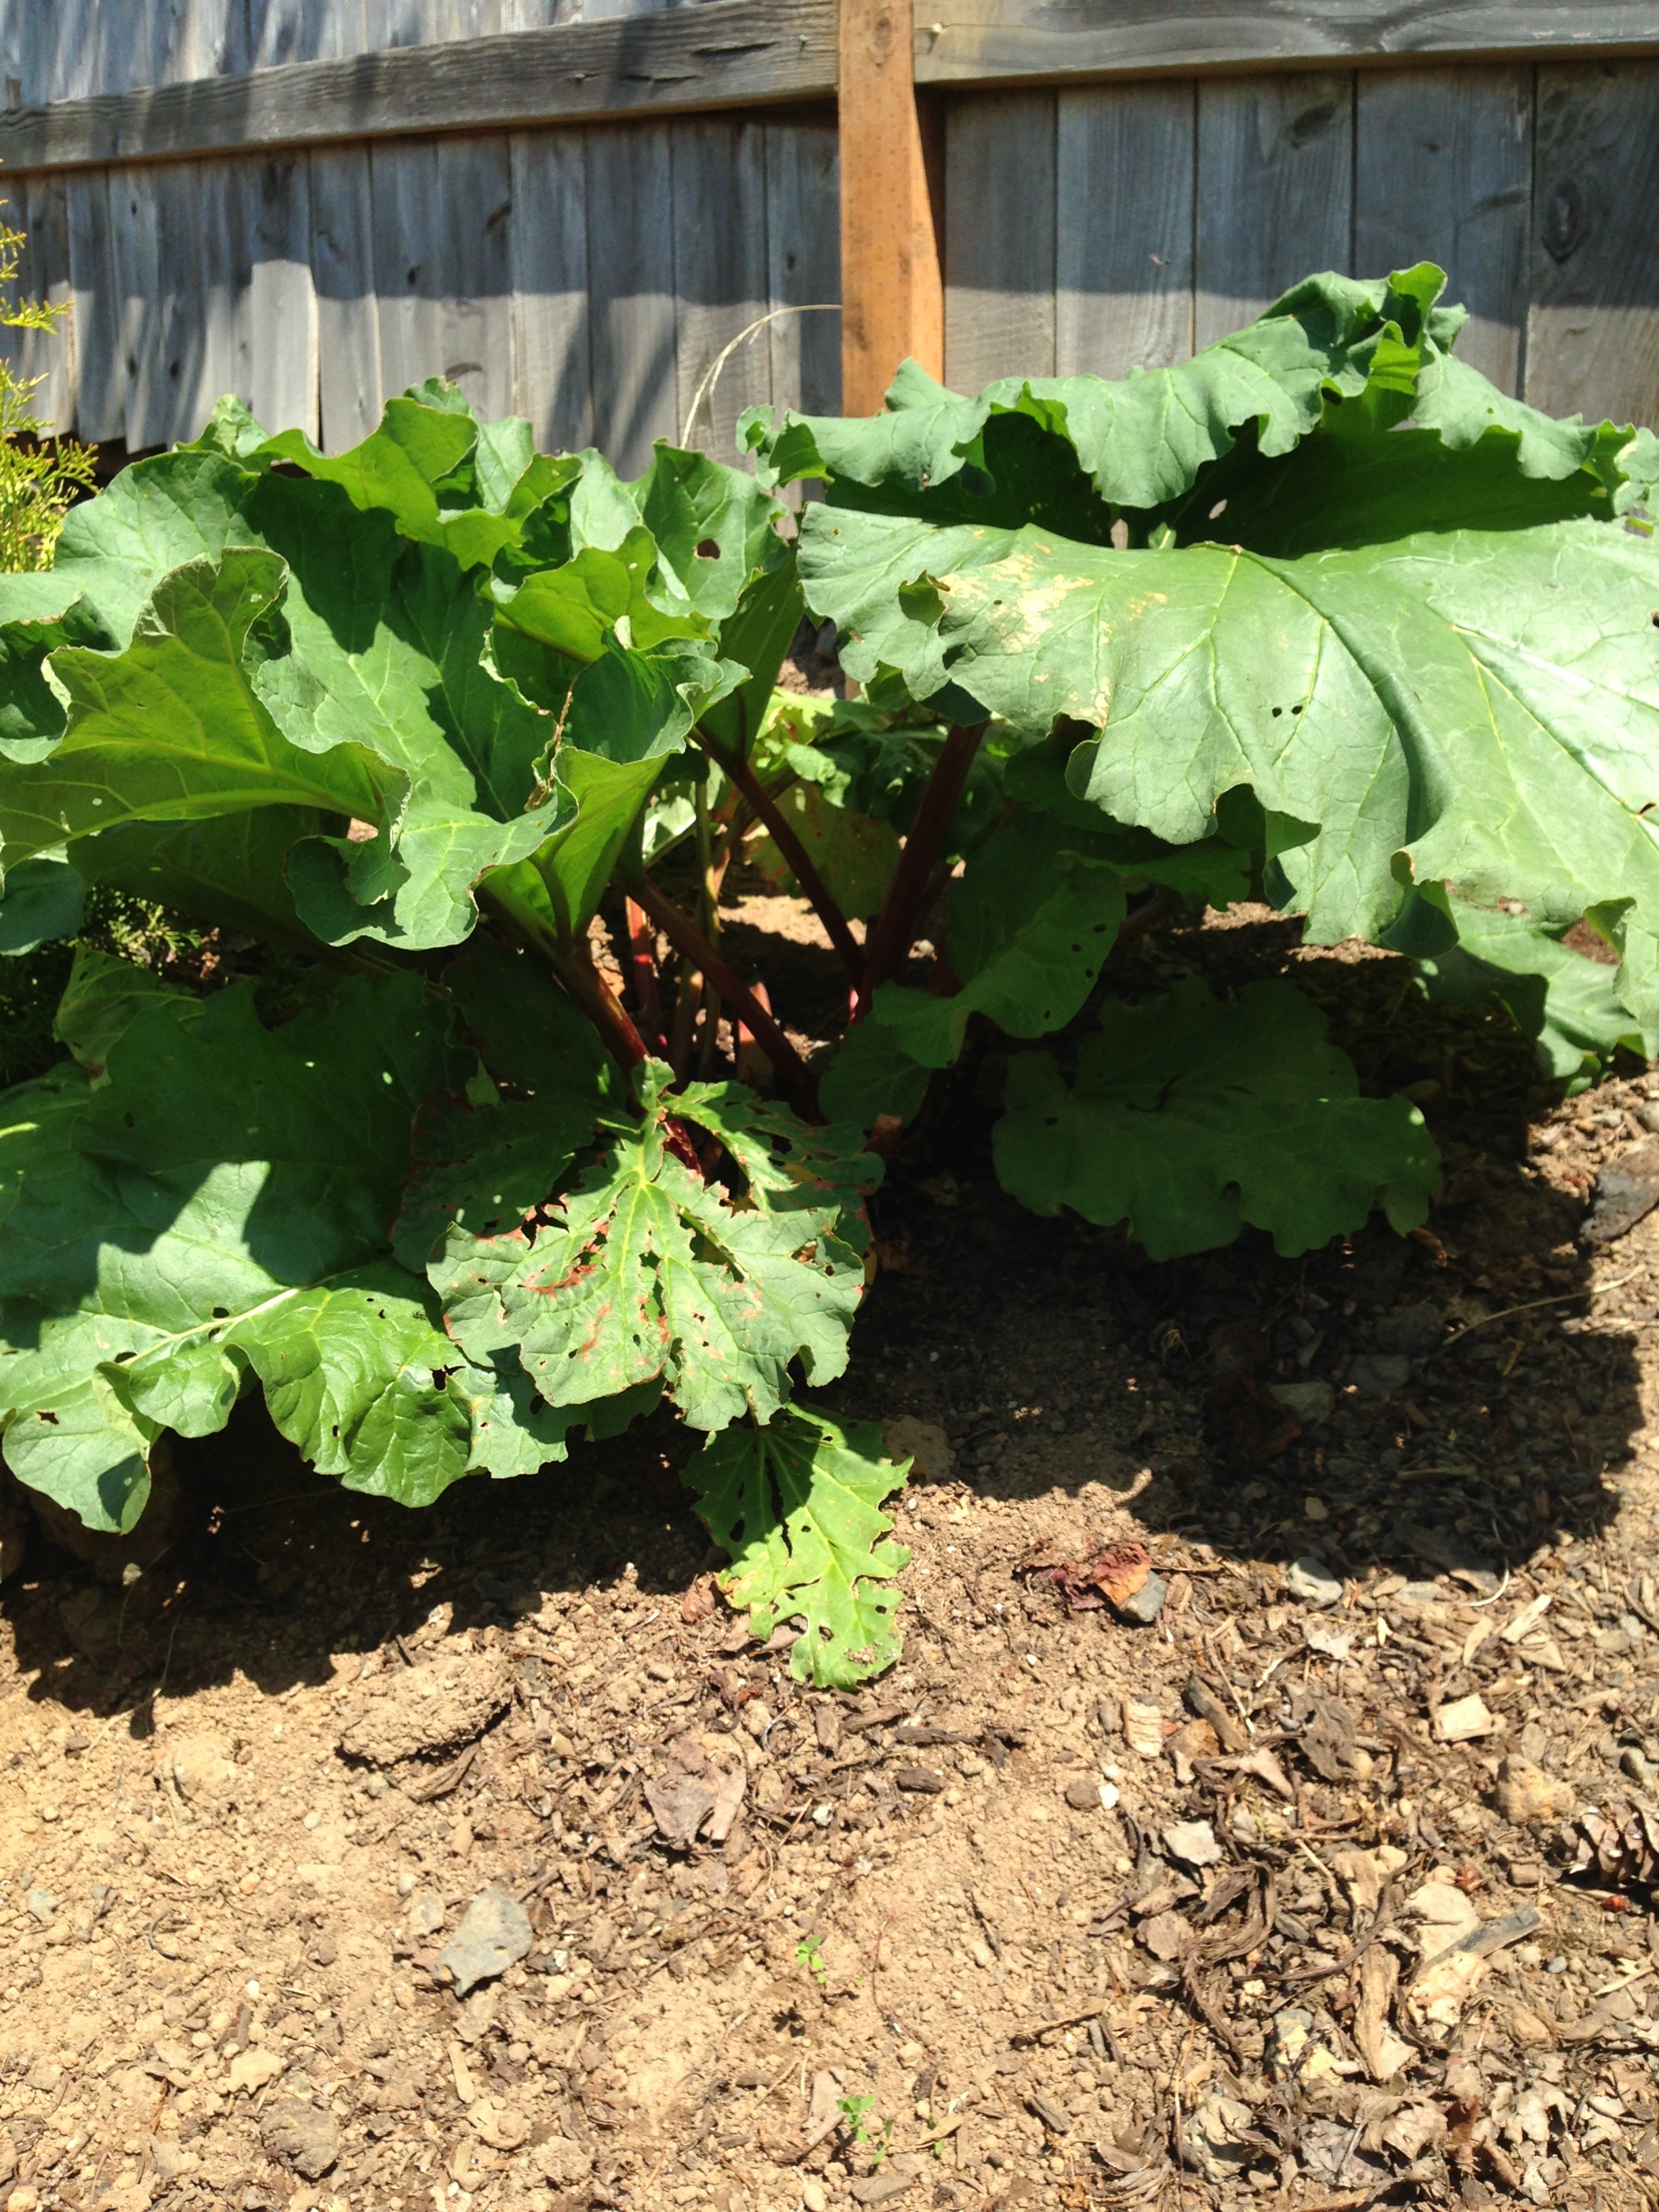
Last year, to our great delight, we discovered we had a rhubarb plant in our yard.  Not terribly impressive to look at but folks who know me are impressed that something is still living in my yard. I am the anti-green thumb in our family.  Sad, but true.

However, my family has told me that there is a redemptive quality to being able to cook other people’s food from other people’s gardens. I’m going with that.

Not impressive to look at but it sure tastes great in cobbler

Not impressive to look at but it sure tastes great in cobbler


I have several able and willing (most of the time) helpers here and the last time I made this delicious cobbler, it was sweet Sydney (age 8) who gave me a hand.  Here’s how we made this wonderful summertime treat:

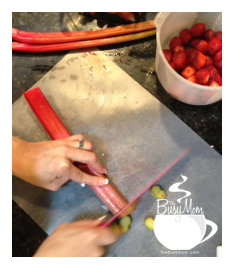
Screen Shot 2013-08-12 at 1.51.42 PMCut off the parts of the rhubarb that look like Heidi grew them in her garden.  Usually this is either end.  Wash and rinse.

Screen Shot 2013-08-12 at 1.31.59 PM

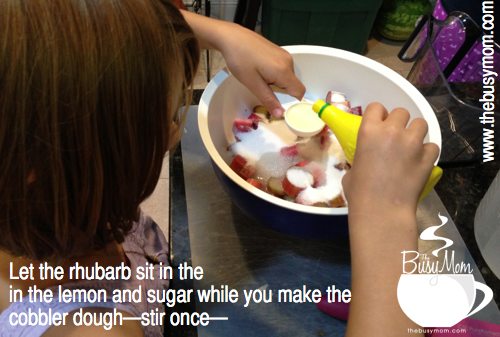
Add the rhubarb, sugar and lemon juice.  Mmmm.  It’s looking yummy but it will not be good to eat at this point.  Ask Sydney.  While you’re letting that sit, cut up the strawberries and add them to the bowl.

Now it’s time to make the dough.  Let me just say… {yum} because that’s the only thing to say at this point.

Cobbler dough

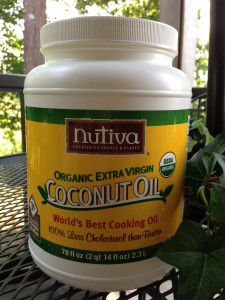
Most traditional recipes call for lard in their cobbler. We switched to coconut oil about a year ago.  It’s better for you and it tastes better, too.  We use it in almost everything now—from savory meals to desserts.  The flavor is fantastic and it’s better for you.  I was surprised how easily we were able to substitute this awesome oil.  If you’re thinking about making a switch, this is a good recipe to try coconut oil out in.  You won’t be sorry!

IMG_3079

If you don’t have coconut oil, you can use shortening or lard.

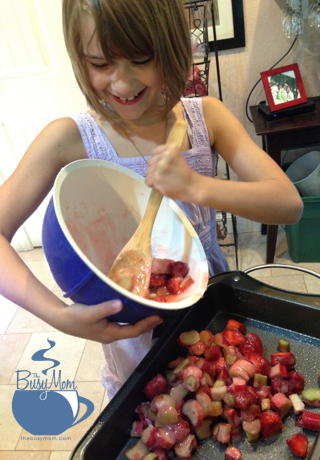
Once your dough is mixed, it’s time to add the fruit to your pan.  Be sure to butter it first. Yes. That would be the right thing to do.

Screen Shot 2013-08-12 at 1.41.31 PM

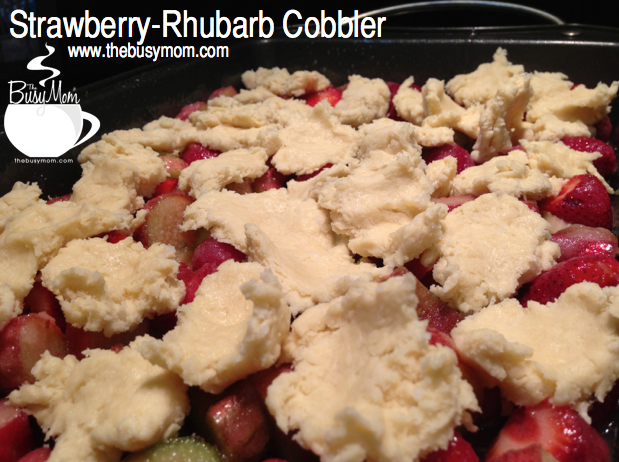
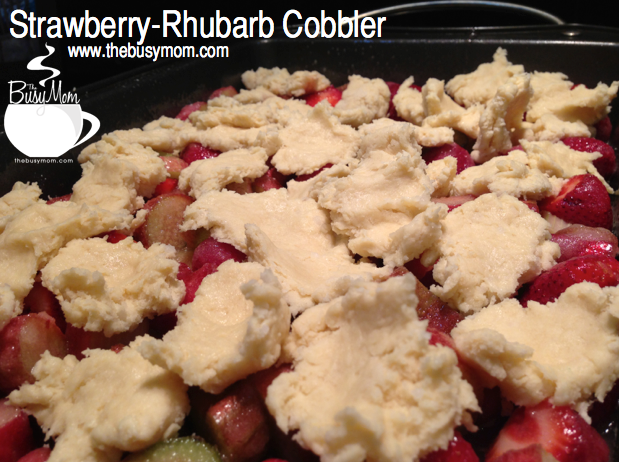
Spread it out evenly so that the entire pan is drowning in fruit.  Double-yum.  Take your dough pieces and spread them out evenly all over the top of the fruit so that it looks like the picture at the top.  Yeah.  That’s gonna be good.  For good measure, you can sprinkle a little more sugar over the top.

Dessert paradise is coming your way.

Put it in the oven at 350 degrees for about 40 minutes, or until you see the top begin to brown. You might want to check it at 30 minutes, just to be on the safe side.

A wagon ride is a good way to spend the oven-waiting time.

IMG_3106

When your cobbler is done, we {highly suggest} serving it with ice-cream or home-made whipped cream & vanilla.  {yum.}

Enjoy!

Here’s the recipe, without all the fluff:

Pre-heat oven to 350 degrees

Fruit 

4 cups rhubarb, washed and cut into small pieces
2 cups strawberries washed and cut
1/2 tsp salt
1/4 cup sugar
3T lemon juice
1 tsp vanilla or almond flavoring if you’re feeling adventurous.  I like the almond.

Dough

2 1/2 cups flour
1 tablespoon baking powder
1/2 cup coconut oil or lard
1/4 cup butter
3/4 cup milk (give or take, mix to desired consistency)
1 egg

Let the fruit mixture sit while you prepare the dough.

In a separate bowl, combine dry ingredients. Fold in the oil and butter with a wooden spoon or a pastry cutter if you have one.  Beat the egg and milk together and add them in until you have the desired consistency.  I like my dough a little on the soft side.

Put the fruit mixture into your buttered pan.  Tear the dough into little pieces and place all over the top until you have a “cobbled” look to your dish.

Place in the oven and bake until hot, brown and bubbly, about 30-40 minutes.

Here’s to summer eatin’ and memories to go with them!
signature-heidi

Just for Fun (And Learning)

Life is never as easy as Pinterest makes it look, is it?

drinkIngredients

I saw this post today and thought: “Oh! I’ll make that!  Easy-peasy.”  Well, like most things, it took some determination and some conversation and some adjusting … wait … that’s what ALL good things require!

So, if you’re looking for something fun that you can do with your kids (notice I did not say healthy, I said fun) then give this a try.  We did it a few times before finally figuring out what made it look cool.

Turns out, there really is a “science” to it!

Have fun!

STEP ONE: Pour fruit juice over ice.  Sorry, but it has to be the sugary kind.  That pesky “good for you” stuff won’t work for this treat.  The sugar weighs more.  So it needs to be sugary to stay on the bottom of the cup.

drinkFirstStep

STEP 2:  Use a spoon to diffuse the blue drink (we found, after three tries, that a mixture of Gatorade, water and one drop of blue food coloring for show worked best) to carefully add the second layer to your drink.

drinkSecondLayer

STEP THREE: Same thing—carefully pour the diet whatever (we used Sprite Zero) on the top.  Go slow!

drinkSprite

STEP FOUR:  Enjoy!  You did it!  Be sure to talk to your kids about “why” this works 🙂

Happy Independence Day!  God Bless America!

drinkMac

Have Fun With Your Kids,

signature-heidi

Fast, Healthy, YUMMY – {15 Bean Soup}

15_Bean_Soup1

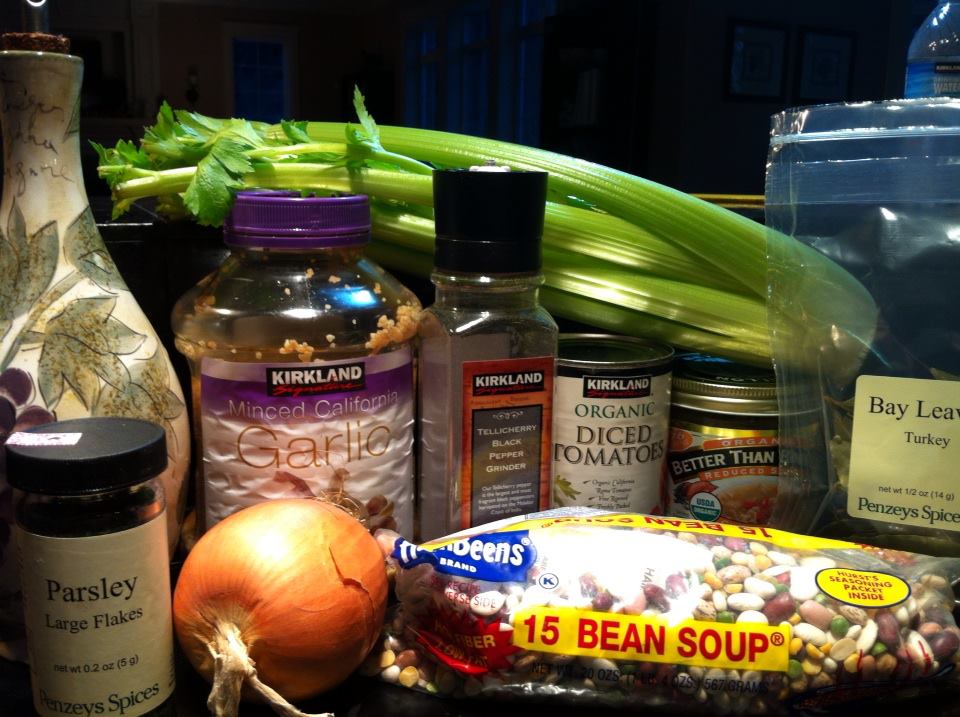
All ingredients except the optional ham hock and pork shoulder.

I’m a soupie.  Is that a word?  Well nevermind. It should be.

I’m finally getting around to posting my favorite bean soup recipe.

Why?

Because I was late yesterday, that’s why.  You know, school, dishes, laundry, toddler—broken down car.  These things can make a girl go half-crazy in the dinner making department.

{enter pressure cooker}

“Welcome, highly-favored kitchen appliance!”

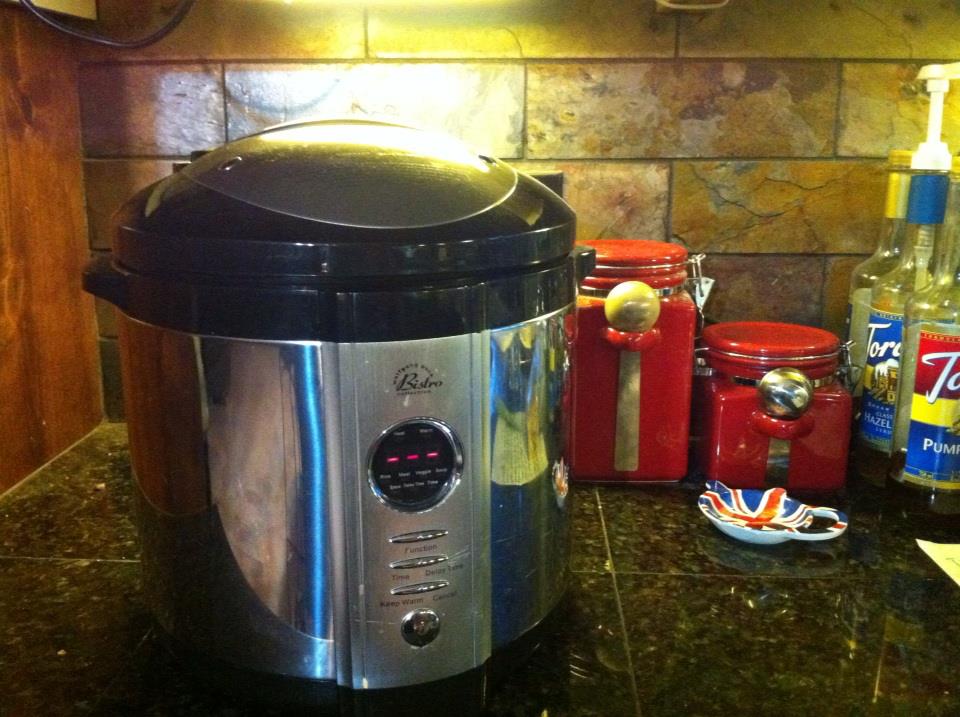
Electric pressure cookers save time and money!

Electric pressure cookers save time and money!

I.love.my.pressure.cooker.  Period.  And it got me out of a jam last night. At 4:4o I arrived home from the mechanic shop, tired and frustrated.  {yes, you heard me right.} I looked in my pantry.  BEHOLD! A bag of beans.  Fifteen different kinds of beans to be exact.  Dinner!  By 4:55 I had all the ingredients in my pressure cooker and by 6:15 we were eating yummy, healthy soup.

YES it works in a crock pot too. Just put this same recipe in your slow cooker and give it 6-8 hours on low.

The magic is found in the spices so here you are:

15 Bean Soup

9 cups chicken broth
15 bean soup mix (1 lb) – this mix is in most grocery stores. It’s about $3.20/bag.
1 large onion, diced
1 can diced tomatoes
4 stalks diced celery
2 bay leaves
2 tsp diced garlic (from a jar is fine)
1 T thyme and rosemary
1.5 T parsely
1 tsp ham base if you don’t have a ham hock, or leave it out.  It’s good with or without.
Black pepper to tasteham_base
Alternative:
If you’re in the mood for a more meaty bean soup, add about a pound of pork shoulder, diced into bite-sized pieces. I didn’t use it this time. When using ham base, I LOVE Penzey’s.  Here’s a picture … a little goes a long way!

Directions:

Place all this stuff in your pressure cooker. Set it to “soup” and set your timer for 35 minutes. When it’s done, allow the pressure to go down on it’s own. This will add about 15 more minutes to your total time.

When you’re ready to serve, take out the ham hock and the bay leaves. Voila!  No more waiting all day for your beans to cook.  Pressure cooking is a busy moms best friend.  Give it a try!

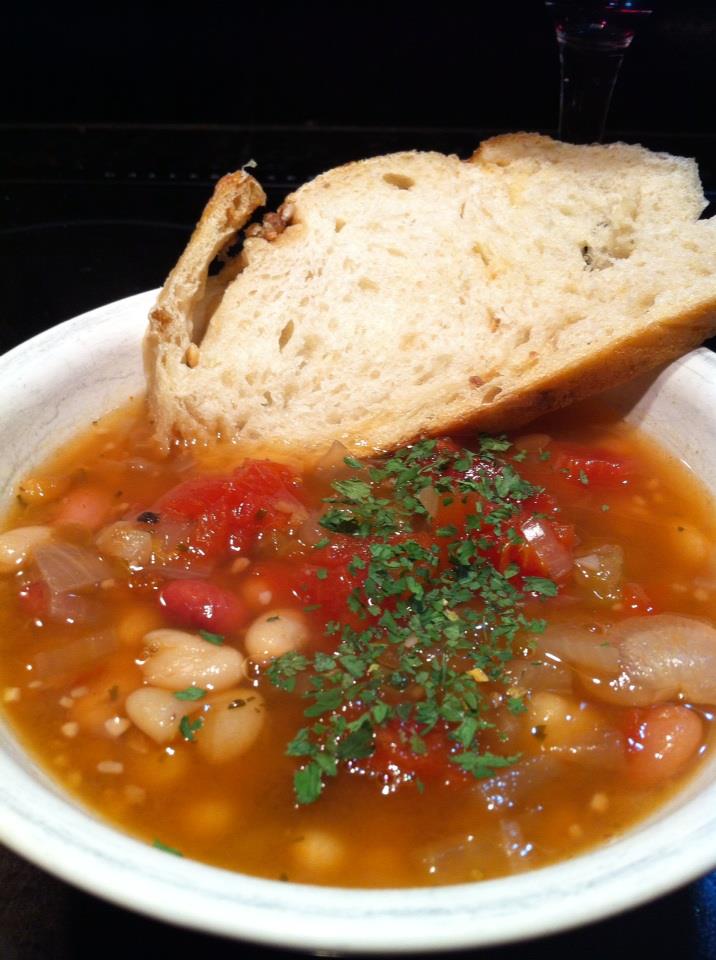
15_bean_finished


Healthy, Yummy, Split-Pea Soup

Mmmmm.  Split-pea soup. It’s one of my favorite ways to make our Christmas ham last through the new year.

Normally, I use my crock pot. But this year, I used my pressure cooker—just to see how it would turn out.  I warned my family in advance that it might not be amazing but I decided to give it a try anyway. Hey, what are they gonna do?  They’re stuck with my kitchen adventuring ways!

Wouldn’t you know it?  It turns out that using my pressure cooker turned out the creamiest, yummiest split-pea soup I’ve ever made.  I was able to serve it straight out of the pot, without adding anything to thicken it.

If you like this yummy soup, give this recipe a try.  And let me know how it turns out!  I’ll also post the slow cooker version at the bottom for those of you who like slow cookers.

Split Pea Soup {pressure cooker version}

Serves 6-9

6 cups of water or broth (I used ham broth, but you can use chicken broth, too.)
Ham bone if you have it
2 1/4 cups split peas, rinsed
2 cups chopped celery

1 whole onion, chopped

Delicious and nutritious!

4 cloves of garlic, diced
3 carrots, diced
2 tablespoons organic, no-salt seasoning (from Costco if you have it)
pepper
2 bay leaves

—ham—  as much as you like.  But do not add until the soup is finished in the pressure cooker.

Instructions:

Put all in ingredients except ham into pressure cooker.  Set timer for 15 minutes. Allow pressure to come down on it’s own. This will take another 15 minutes or so.

When pressure is released, remove bay leaves and stir.  Add ham if you are so inclined. (I am always inclined this way if I have ham in the house!)
Salt and pepper to taste.  Serve with corn bread or salad.  Enjoy!


{slow cooker version}

as above, except: cook on low for 6-8 hours
Remove bay leaves
Add ham

Stir.  To thicken, I usually add a mixture of milk and flour that I’ve prepared in my salad dressing shaker).  I don’t honestly know how much I use.  I would guess it’s about 1/2 cup of milk and 2 tablespoons of flour mixed very well. You can also thicken with instant potato flakes, or cornstarch and water.  Be sure to mix the cornstarch well, one part starch to two parts COLD water.

Enjoy!

heidi 


Zuppa Toscana Soup {A Lighter Version}

I love soup.  Seriously. LOVE. So when Old Man Winter knocks on my door, I head to the kitchen to heat things up!

It’s a “thing” I have, this obsession of good soups.  Happily, my husband shares my love of soup. In fact, he is the driving force behind most of my obsessive behavior.  😉

 Years ago, my husband and I discovered this delicious winter soup when we were invited out to Olive Garden with friends.  Jay looked at me over his soup spoon with this sort of  “If you will make this soup for me I will think you are even more amazing than I already do” look in his eyes … and with incentive like that, I had to figure out how to make my own version.  I figured it would save us some money too while allowing us to stay snuggly warm at home with our soup.

I worked hard to lose about 30 pounds two years ago, so I’ve lightened this up just a bit to cut out calories and fat … but really … you can’t skimp on things like bacon and sausage and still keep the wonderful flavor of this yummy winter soup.  Mostly what I did to cut calories was skip the butter and use regular 2% milk with half and half instead of heavy cream.

I like to get bacon at the local butcher shop if I remember. 🙂  This is the key for me. (The remembering part, that is.)  Tonight we were lucky to have peppered bacon from our local butcher.  ‘nuf said.  YUM.

I use about this much bacon when I make my sausage, kale and potato yumminess.

Bacon is one of my love languages.  I don’t know why BACON is not in “that” Love Languages book.  Anyway.

This is about enough for a batch of soup that feeds my tribe of ten.

I cut it into bite size pieces and cook it while the water is heating up in the stock pot.

Cook up some Italian sausage. I did two pounds for my purposes.  (I feed 10 and I want leftovers for lunch the next day).  Two pounds is perfect.  Drain off the grease  and set it aside.

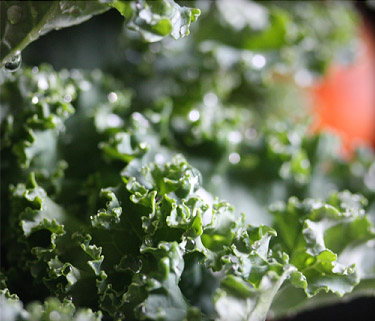
While your sausage is cooking … rinse and tear a bunch of kale into bite-size pieces. Set it aside.  You won’t need to add it until the very end.

BONUS… this stuff is really good for you

5 quarts of chicken stock


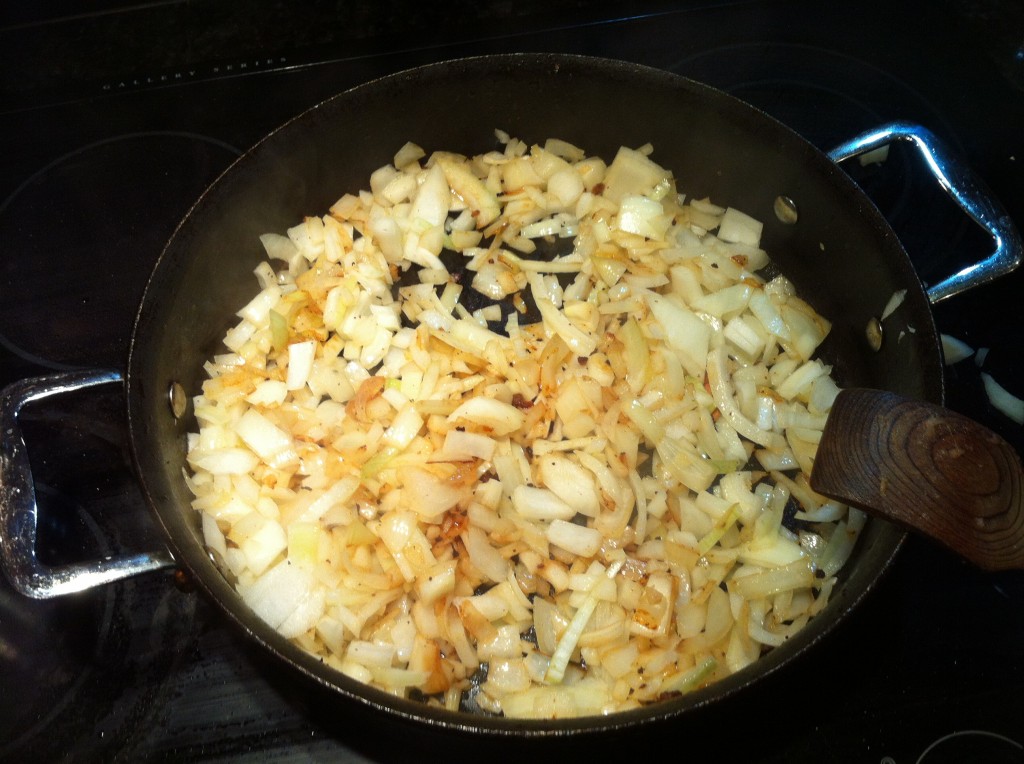
Saute onions and garlic before adding potatoes


I made this last night in the MIDDLE of all the Un-decorating FALL and finding Christmas decoration madness.  AND did I mention I am potty training our almost two-year-old.

My pictures reflect this.  Do NOT use the pot I’m using for your soup.  When I’m thinking, I do everything in my stock pot.  But whatever.  This still worked. It just made my life a teensy bit harder than it had to be.

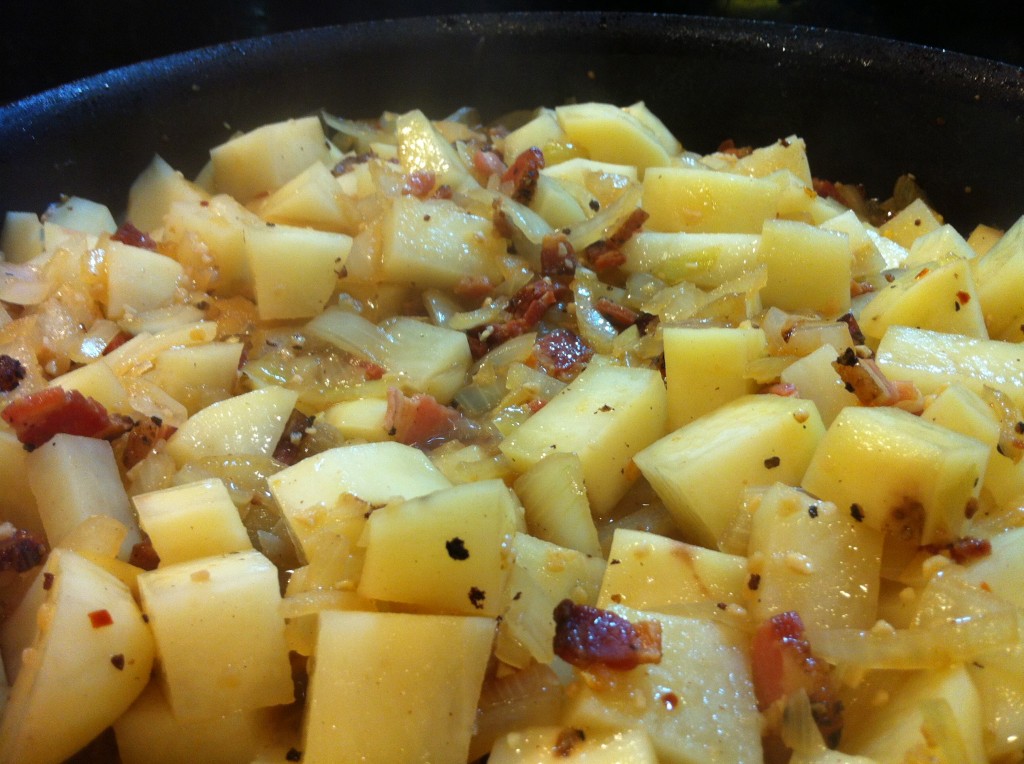
Add red pepper flakes and your cooked bacon and sauté the potatoes until they are just a little on the brown side.  YUM. Man, this smells good.

Saute potatoes with onions and garlic until they look the way you like 'em

When they look and smell irresistable, you’re ready to pour the chicken stock in.

Add your cooked italian sausage.

Add 2 cups half and half and 1 cup 2% milk.
Heavy cream in you would rather be naughty than nice. 🙂

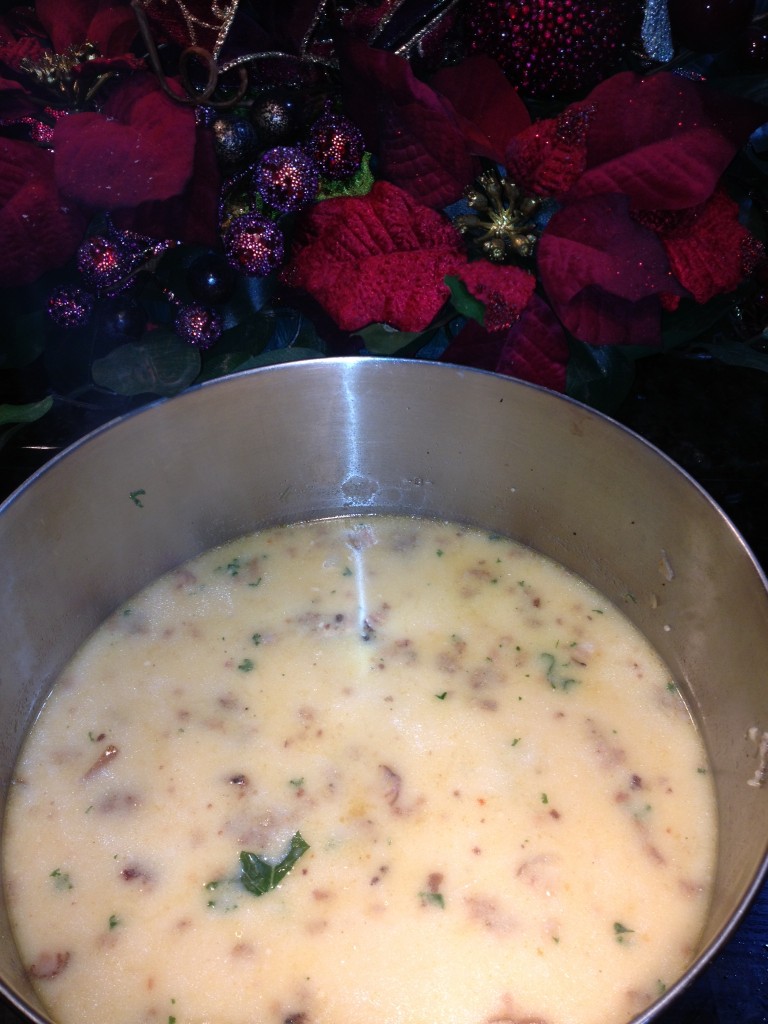
Add your kale and cream at the end and simmer, adjusting flavors as you go.  (You know, a sip for you, a sip for your friends, a sip for your husband, etc.)

Here’s the recipe, all summed up and pretty for you “print in out and post it” people..

Sausage, Kale and Potato Soup

  • 1 bunch of kale, rinsed and torn into bite sized pieces
  • bacon, cut up and cooked (about as much as you see in the photo above)
  • 3 large russet potatoes (about enough for six cups), peeled with some skin left on
  • 2 pounds Italian sausage
  • 1 T red pepper flakes
  • 5 quarts chicken stock (remember I feed a tribe!)
  • 2 onions
  • 4 cloves garlic, minced
  • 2 cups half & half
  • 1 cup 2% milk
  • pepper to taste

Put chicken broth on stove to simmer.
Cook bacon. Drain and set aside.
Cook sausage. While sausage is cooking, rinse and prepare kale. Set aside.
Drain sausage. Set aside. Drain grease but leave the pan as is, you’ll love the flavor it will give the onions.
Saute onions and garlic in  same pan you just cooked bacon and sausage in.
When onions are slightly browned and soft, add red pepper flakes, bacon and potatoes.
Cook until potatoes are slightly browned.
Add chicken stock. DO NOT BOIL. It makes the potatoes mushy.  And nobody wants that.
When potatoes are soft (not mushy), add the cream, milk and kale.

Simmer, adjusting flavors as you go.
Serve with warm, rustic garlic bread… you’ll be glad you did.

Gather ’round the dinner table and enjoy!


Crock Pot Cooking Makes Life Better: Chalupa!

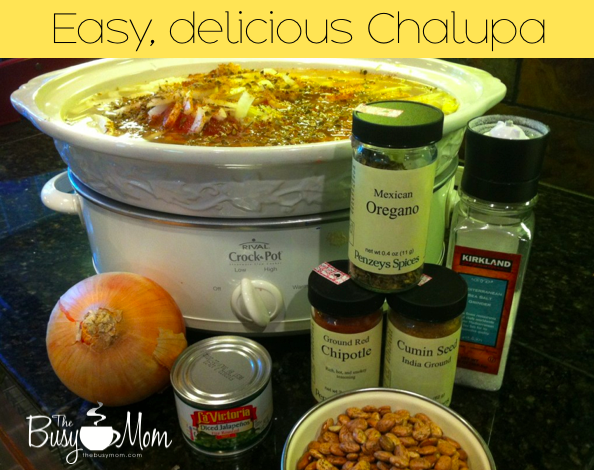
chalupa

We LOVE Mexican food around here!  Happily, one of my favorite Mexican recipes is also a slow cooker recipe!  Chalupa is an awesome meal—it freezes well, is awesome in a bowl with tortilla chips on the bottom and cheese on top with sour cream.  It can be made ahead and re-heated. What I like to do is make it up and then freeze half of it.  Great meal after a long day.  Enjoy!

Put ingredients into the crock pot in this order:

1 pound pinto beans
1 large pork shoulder roast
7 cups water
1  onion, chopped
2 cloves garlic, minced
1 small can of dice jalapeños  (if you like it spicy)
1 teaspoon salt
2 tablespoons chili powder or chipotle seasoning
1 tablespoon cumin
2 teaspoons oregano (mexican oregano if you have it)
pepper to taste

Put all ingredients in slow cooker or dutch oven. Cover and simmer (on low)  at least 5 hours, or until the roast falls apart and the beans are done. Uncover and cook about 1/2 hour, until it is as thick as you like it.

I serve this over chips, or with rice or quinoa.  It’s a GREAT recipe that is sure to please your whole family!

And in case you’re curious, (affiliate link ahead) I’m a Rival Crock-Pot fan!