It’s that time of year again—time to snuggle in your favorite snuggling spot with a bowl of piping hot chowder and binge-watch your favorite Christmas movies. (It’s a Wonderful Life wins for me.) This is also the time of year for having kids come home and hopefully, bring a guest or two with them. You know me, I love a houseful, and this meal is a crowd-pleaser.
We are pacific northwest people—and as such–we like all things salmon – okay – and shrimp. Okay. We like it all.
Give it a try and let me know what you think! My hunch is that you’re going to love it.
From one busy mom to another,
Heidi
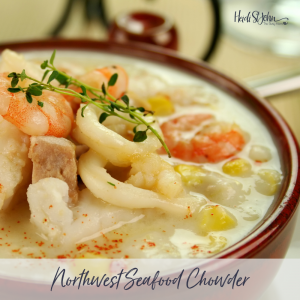
Northwest Seafood Chowder

Ingredients
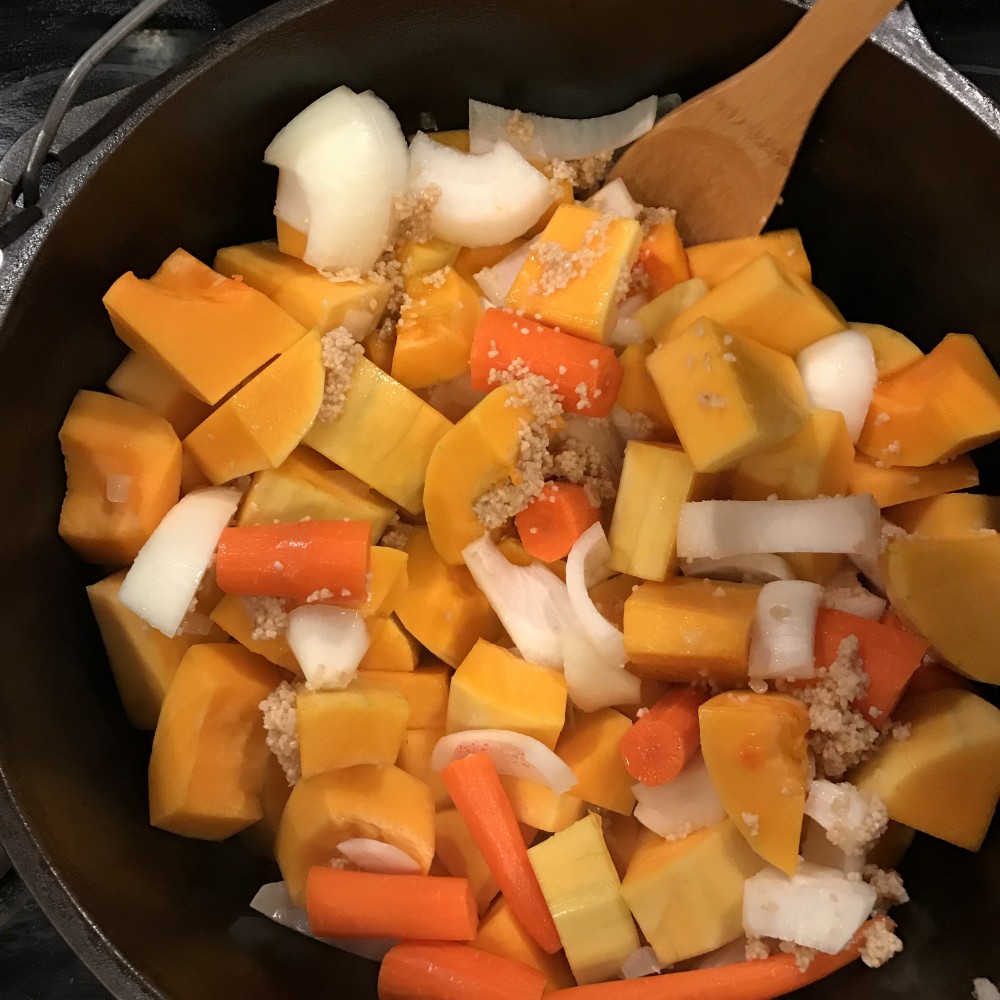
- 1 cup celery
- 1 cup red pepper
- 1 cup onion
- 2 cloves garlic (or from a jar is fine)
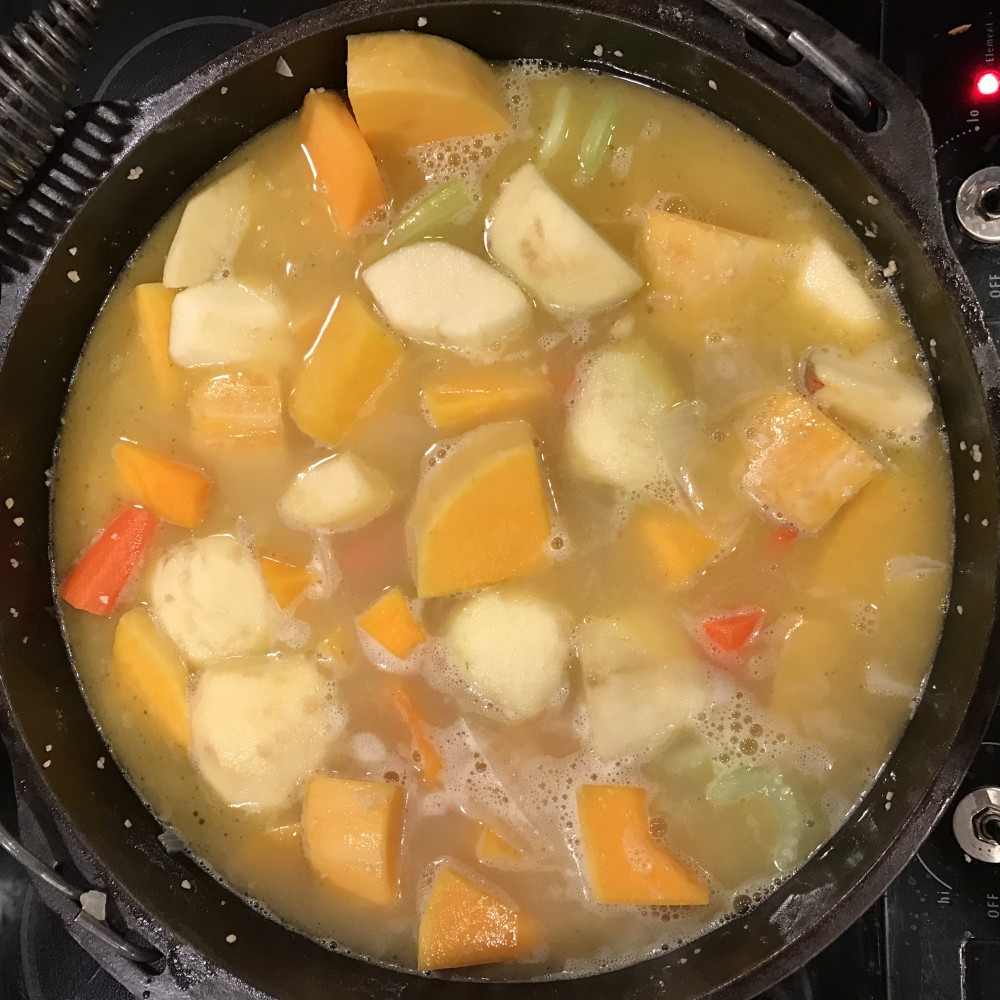
- 30 oz chicken broth (about 3 cans)
- 2 cups peeled, diced potatoes (can mix red and russet)
- 2 cups shredded carrots (hello, food processor!)
- 2 tsp salt
- 1 tsp pepper
- 2 cans creamed corn
- 1 can sweet corn
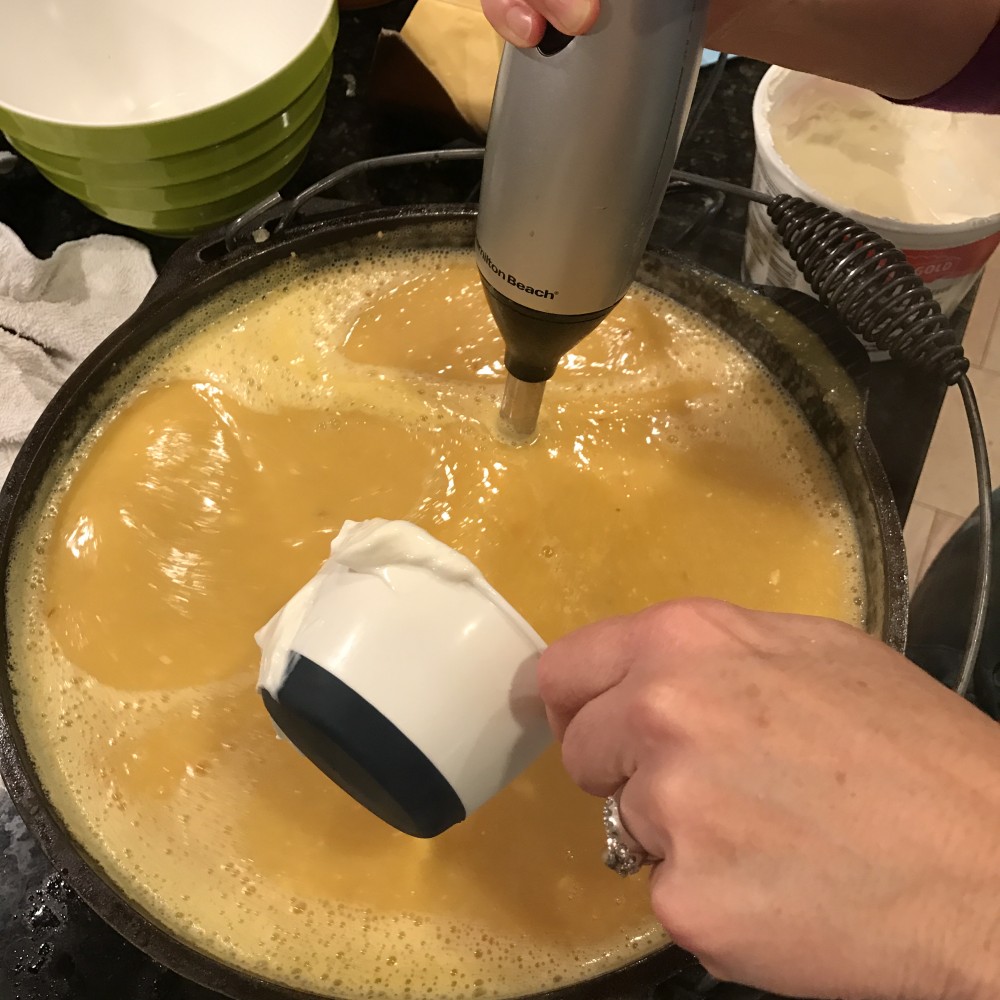
- 4 cups half-and-half
- 5 sprigs fresh dill, stems removed (dried will work too)
- 4 cups fully cooked salmon
- 1 cup cod
- 2 cups frozen shrimp, tail off
- 1/4 cup flour in chicken broth for thickener
Instructions
- In a large pot, saute celery, onion, red pepper and garlic in butter until the vegetables are tender.
- Add broth, potatoes, carrots, salt, pepper and de-stemmed dill
- Bring to a boil
- Reduce heat; cover and simmer for 40 minutes or until the vegetables are nearly tender.
- AT THE END:
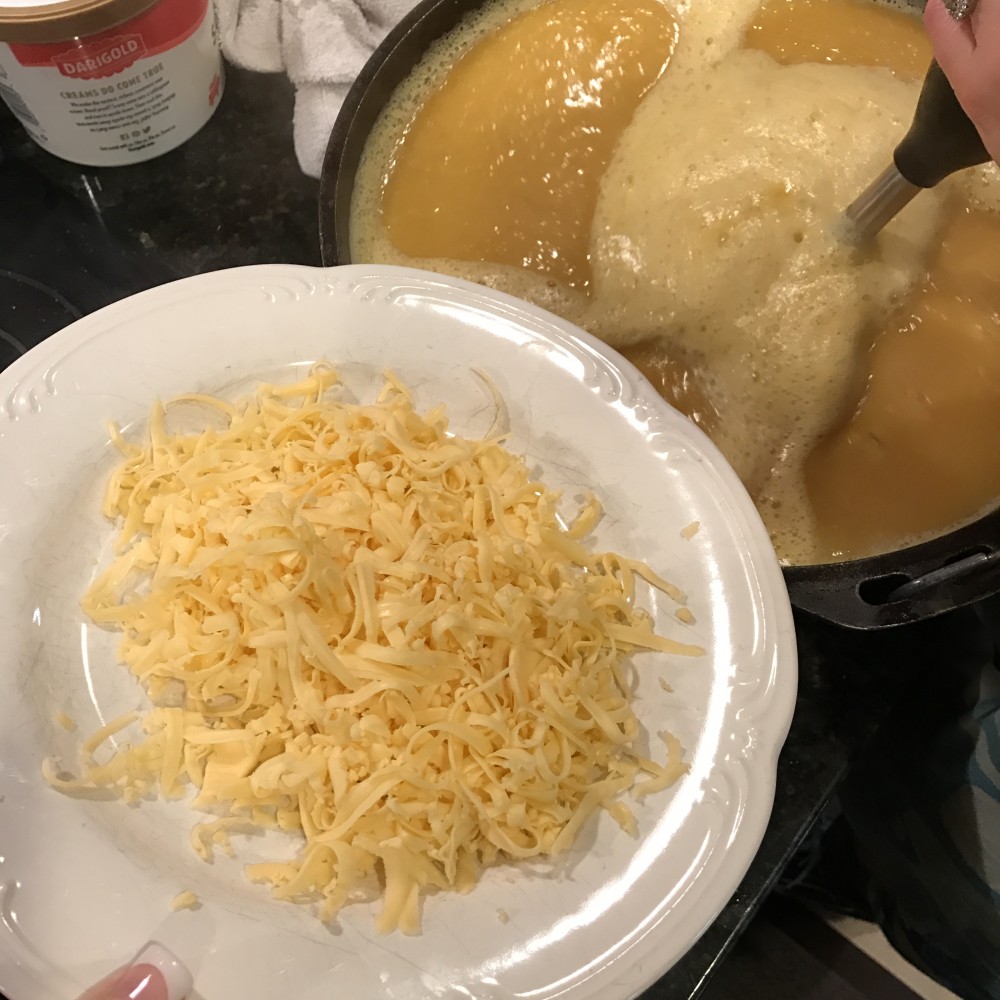
- Stir in the corn, cream, salmon, cod and shrimp.
- To thicken - whip flour with 1/2 cup chicken broth and add to hot soup, stirring slowly
- Simmer for 15 minutes or until heated through.
- Add whatever dill is left and stir gently
Recipe Owned by TheBusyMom.com.