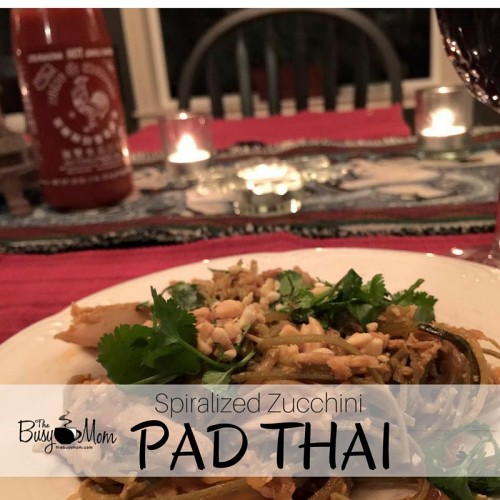
So, last summer, my friend Jane was using a spiralizer while I was visiting and I was fascinated. We’ve been gluten-free in our home for about 18 months and the idea of using veggies for noodles seemed like something I should try. I’m so glad I did! This recipe is totally authentic tasting, because the sauce is fabulous, too.
I thought for sure the kids would make faces and squirm at the idea of zucchini noodles. Let me just say: there were NO leftovers. Everyone loved it, even the five year old and my mother in law. Believe me, your whole family will love it. #winning
This recipe works exactly the same way with traditional pad thai noodles, too.
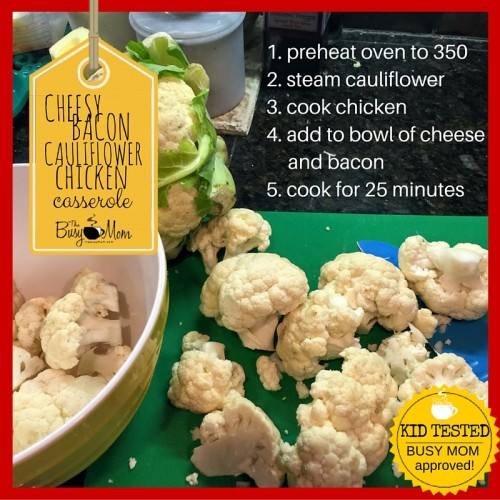
Here’s the recipe!
Serves 8-10
Ingredients:
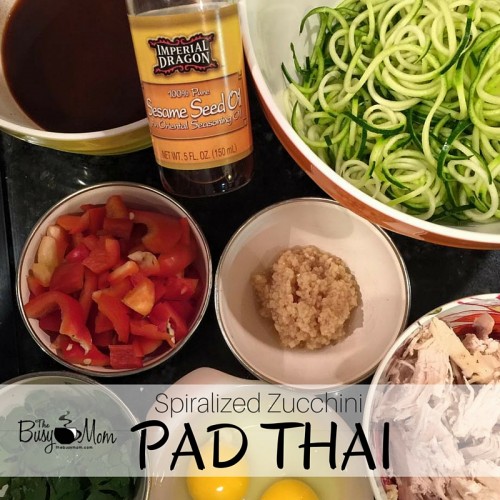
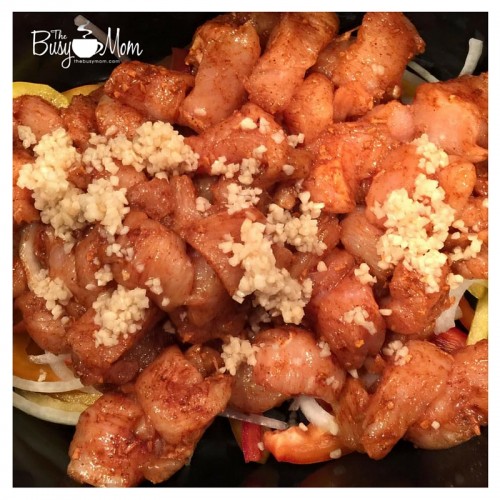
1 lb chicken (I used the meat from a Costco roasted chicken that we happened to have.)
2 TB minced garlic
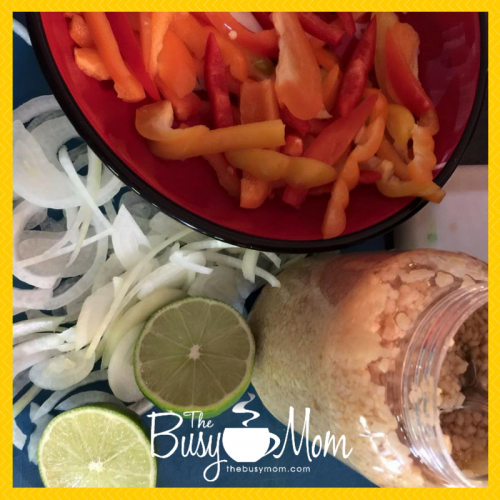
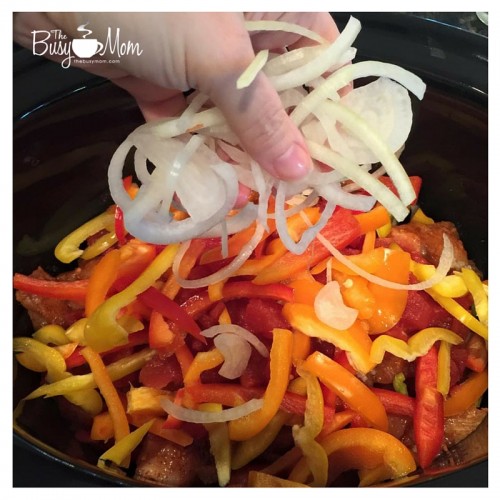
1-2 red bell peppers
1-2 eggs (depending on how much you like egg in your pad thai. We used two)
1 bunch cilantro
2-4 large zucchini or 4-5 small
1/2 cup chopped peanuts (optional but de-lish)
I’ll show you the sauce recipe below.
Here’s how to do it:
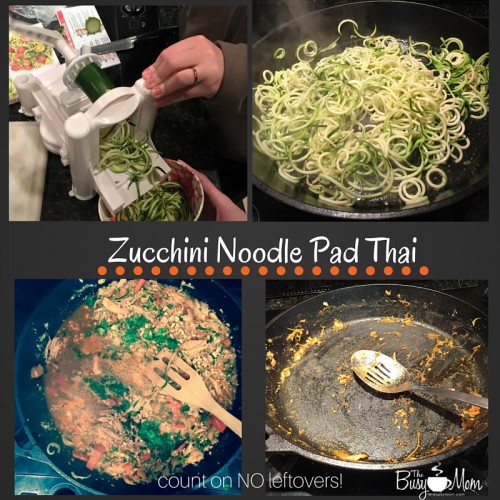
- Put some sesame oil into your skillet and cook the spiralized noodles until they’re soft.
- Remove the noodles and put them in a strainer with some paper towels. Make sure the liquid gets strained off.
- Add the garlic and red pepper, and 1/4 of the chopped cilantro. Sauté until tender.
- Turn up the heat a little and add the eggs.
- Add the noodles back. Cook for about 2 minutes.
- Add HALF the sauce and cook until bubbly. If you need more sauce, add it until it’s the consistency you like.
I ended up with too much sauce the first time, and adjusted the recipe here but I discovered something: I could add edemame noodles to the sauce and it soaked up the extra sauce and added incredible flavor and texture to the dish. So I learned something! - Add more cilantro and some crushed peanuts. Stir together, heat through and serve!
Top with cilantro and peanuts if desired.
Pad Thai Sauce:
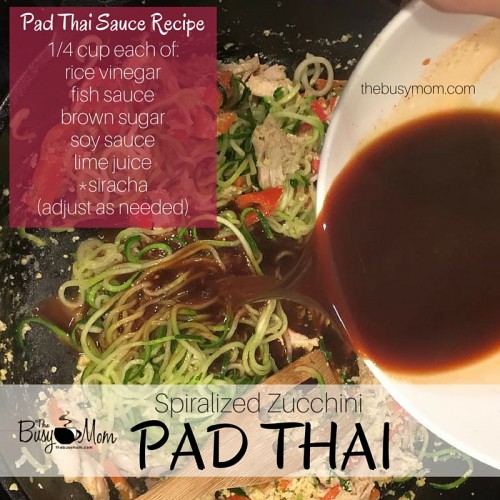
1/4 cup each:
- rice vinegar
- fish sauce
- brown sugar
- soy sauce (we used gluten free)
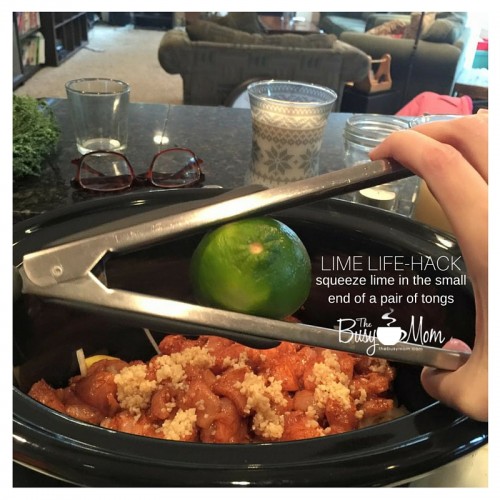
- lime juice
- siracha (omit or use less if you want milder sauce)
I know I said that I love crock pots and Mexican food, but from now on, You can call me Dragon Lady.
Enjoy!
Heidi