Tag Archives: family health

7 Snack Foods You Can Stop Buying and Start Making

7 Snacks Foods

We have managed to reduce our grocery budget by more than $50 per month by changing ONE thing – instead of buying snack foods, we are making them ourselves!

It is amazing how easy it really turns out to be, once you have the tools and tricks to help you get started. And if someone has already done the testing ahead of time for you, even better! Because then you KNOW a recipe is actually good and something your whole family will enjoy.

Yes, it takes a little bit more work to make your own snack foods than to run out to the store and buy them. But the benefits of taking in less processed food AND saving money are well worth it. (Plus, if they aren’t as readily available, you’ll be forced to eat less of them anyway ;D)

These recipes aren’t difficult to make – however, you may find yourself having a hard time keeping them around ;0) But don’t worry, at least you know what’s in them.

7 Snack Foods You Can Stop Buying and Start Making

Bagels

Homemade bagels are a great snack option, especially when you make them mini cinnamon raisin, then slice them thin and crisp in the oven with butter. So delicious! We make our bagels by hand rolling them, and they’re finished in about an hour. It’s pretty impossible to not eat them hot off the tray.


Cookies – Oreos, Animal Crackers and Graham Crackers

I’m from Canada, and our Oreos are better than the American Oreos – sorry, but it’s a fact! Ha ha! Actually, we think it is the filling that is used in our Oreos that make them taste as good as they do. While I haven’t been able to find a really good recipe to duplicate the Canadian Oreo flavour, this homemade Oreo recipe without shortening and this Oreo recipe from Bakerella are both pretty tasty!

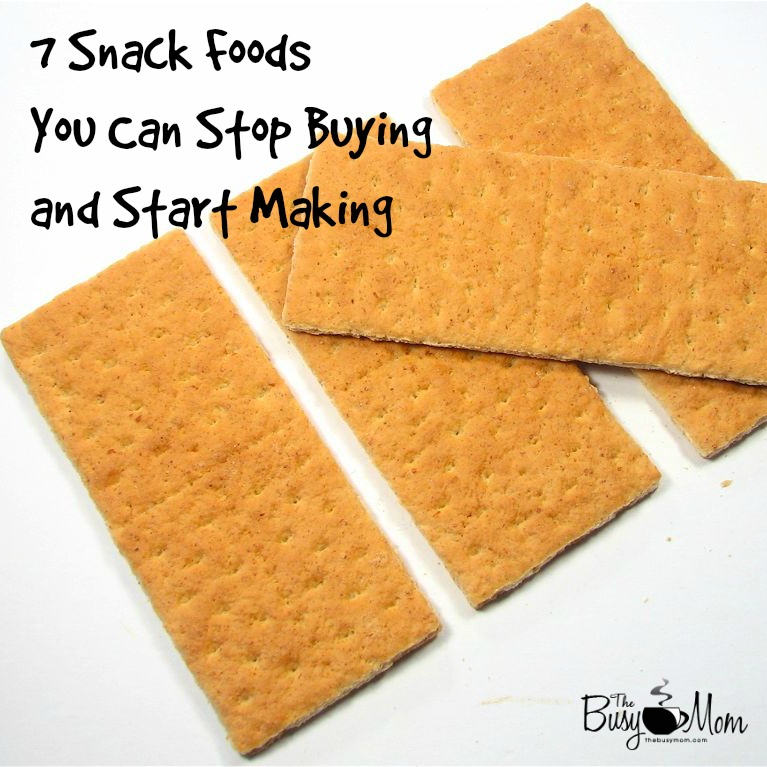
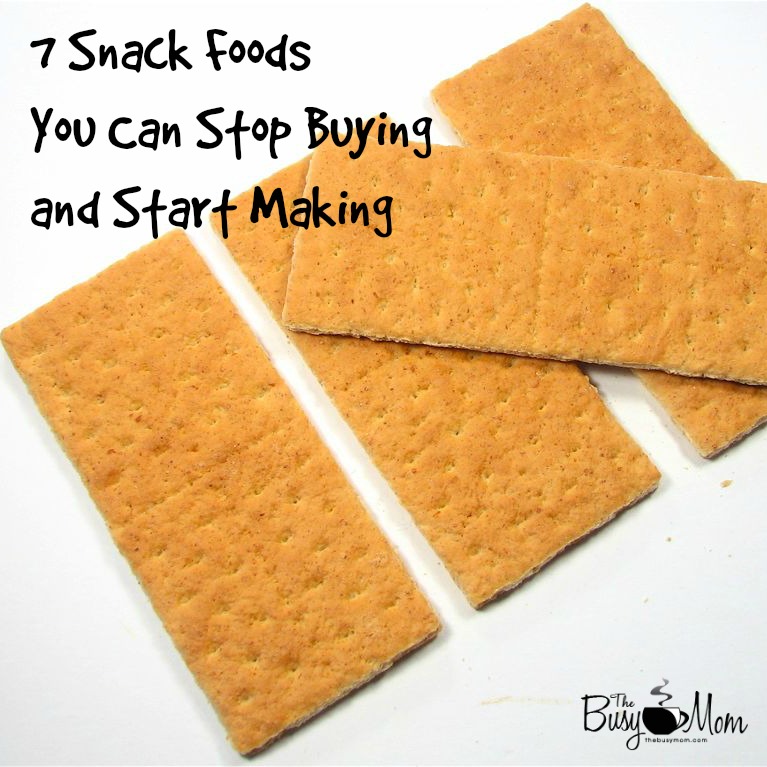
Animal crackers and Graham crackers are LOOOOOOADED with sugar – I think that is what makes them so tasty and appealing. You will not be disappointed if you make your own. The same great flavour is there, with far less sugar (and again, you may eat more of them, so just be prepared to put a limit out there after…say…. a handful or two?).


Granola Bars
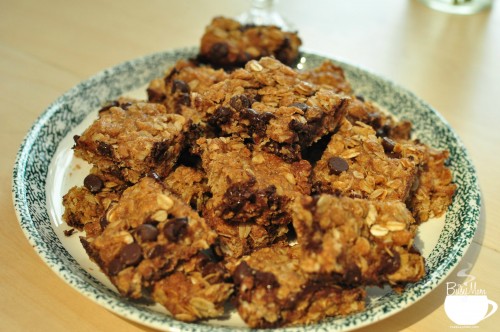
Homemade Granola Bars

No more foil and plastic packaging kicking around the lunch bags. Granola bars are so quick and easy to make. You can use pre-made granola, or make your own homemade granola into a bar, or just use a straight-up oats recipe. There are so many easy variations, but these Kid (and Adult) Friendly granola bars are just right.

Hummus

We eat a lot of hummus. Our kids and the hubby and I LOVE it! I’ve tried a few recipes to get just the right flavour, and HANDS DOWN the hummus recipe from Aimee at Under the High Chair is the best for texture and flavour.


Pretzels

A favourite snack or even lunch item has become pretzel bites. We like to make the whole wheat soft pretzel bites or a wheat and all purpose flour pretzel. Savoury, salty or sweet, you decide the toppings!


Snack Crackers

Wheat thins and goldfish crackers are a big favourite around our house. Who knew that to replace the massive amounts of sugar, salt and preservatives for a great taste would take only a few ingredients and nothing fancy?

Try these cinnamon honey wheat thins to hit your sweet tooth, or a more basic wheat thins recipe to which you can add more flavours.

For the kids in your family (or you!) make these goldfish crackers with a little trick on how to make your own goldfish cutter out of foil.


Yogurt
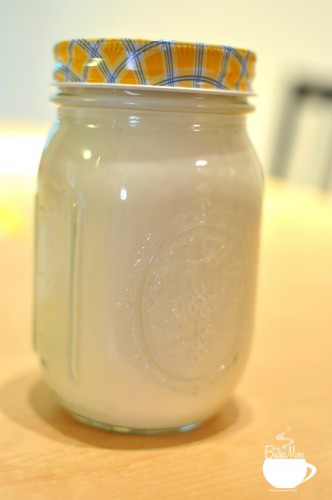
Homemade Yogurt

It’s so easy. Really. Especially when you have a good recipe! I’ve tried a lot and haven’t found one quite as successful as the yogurt recipe from my friend, Trina Holden. Scald the milk, add the yogurt and incubate on the counter overnight – done!

signature_lauren

Homemade All-Purpose Citrus Spray

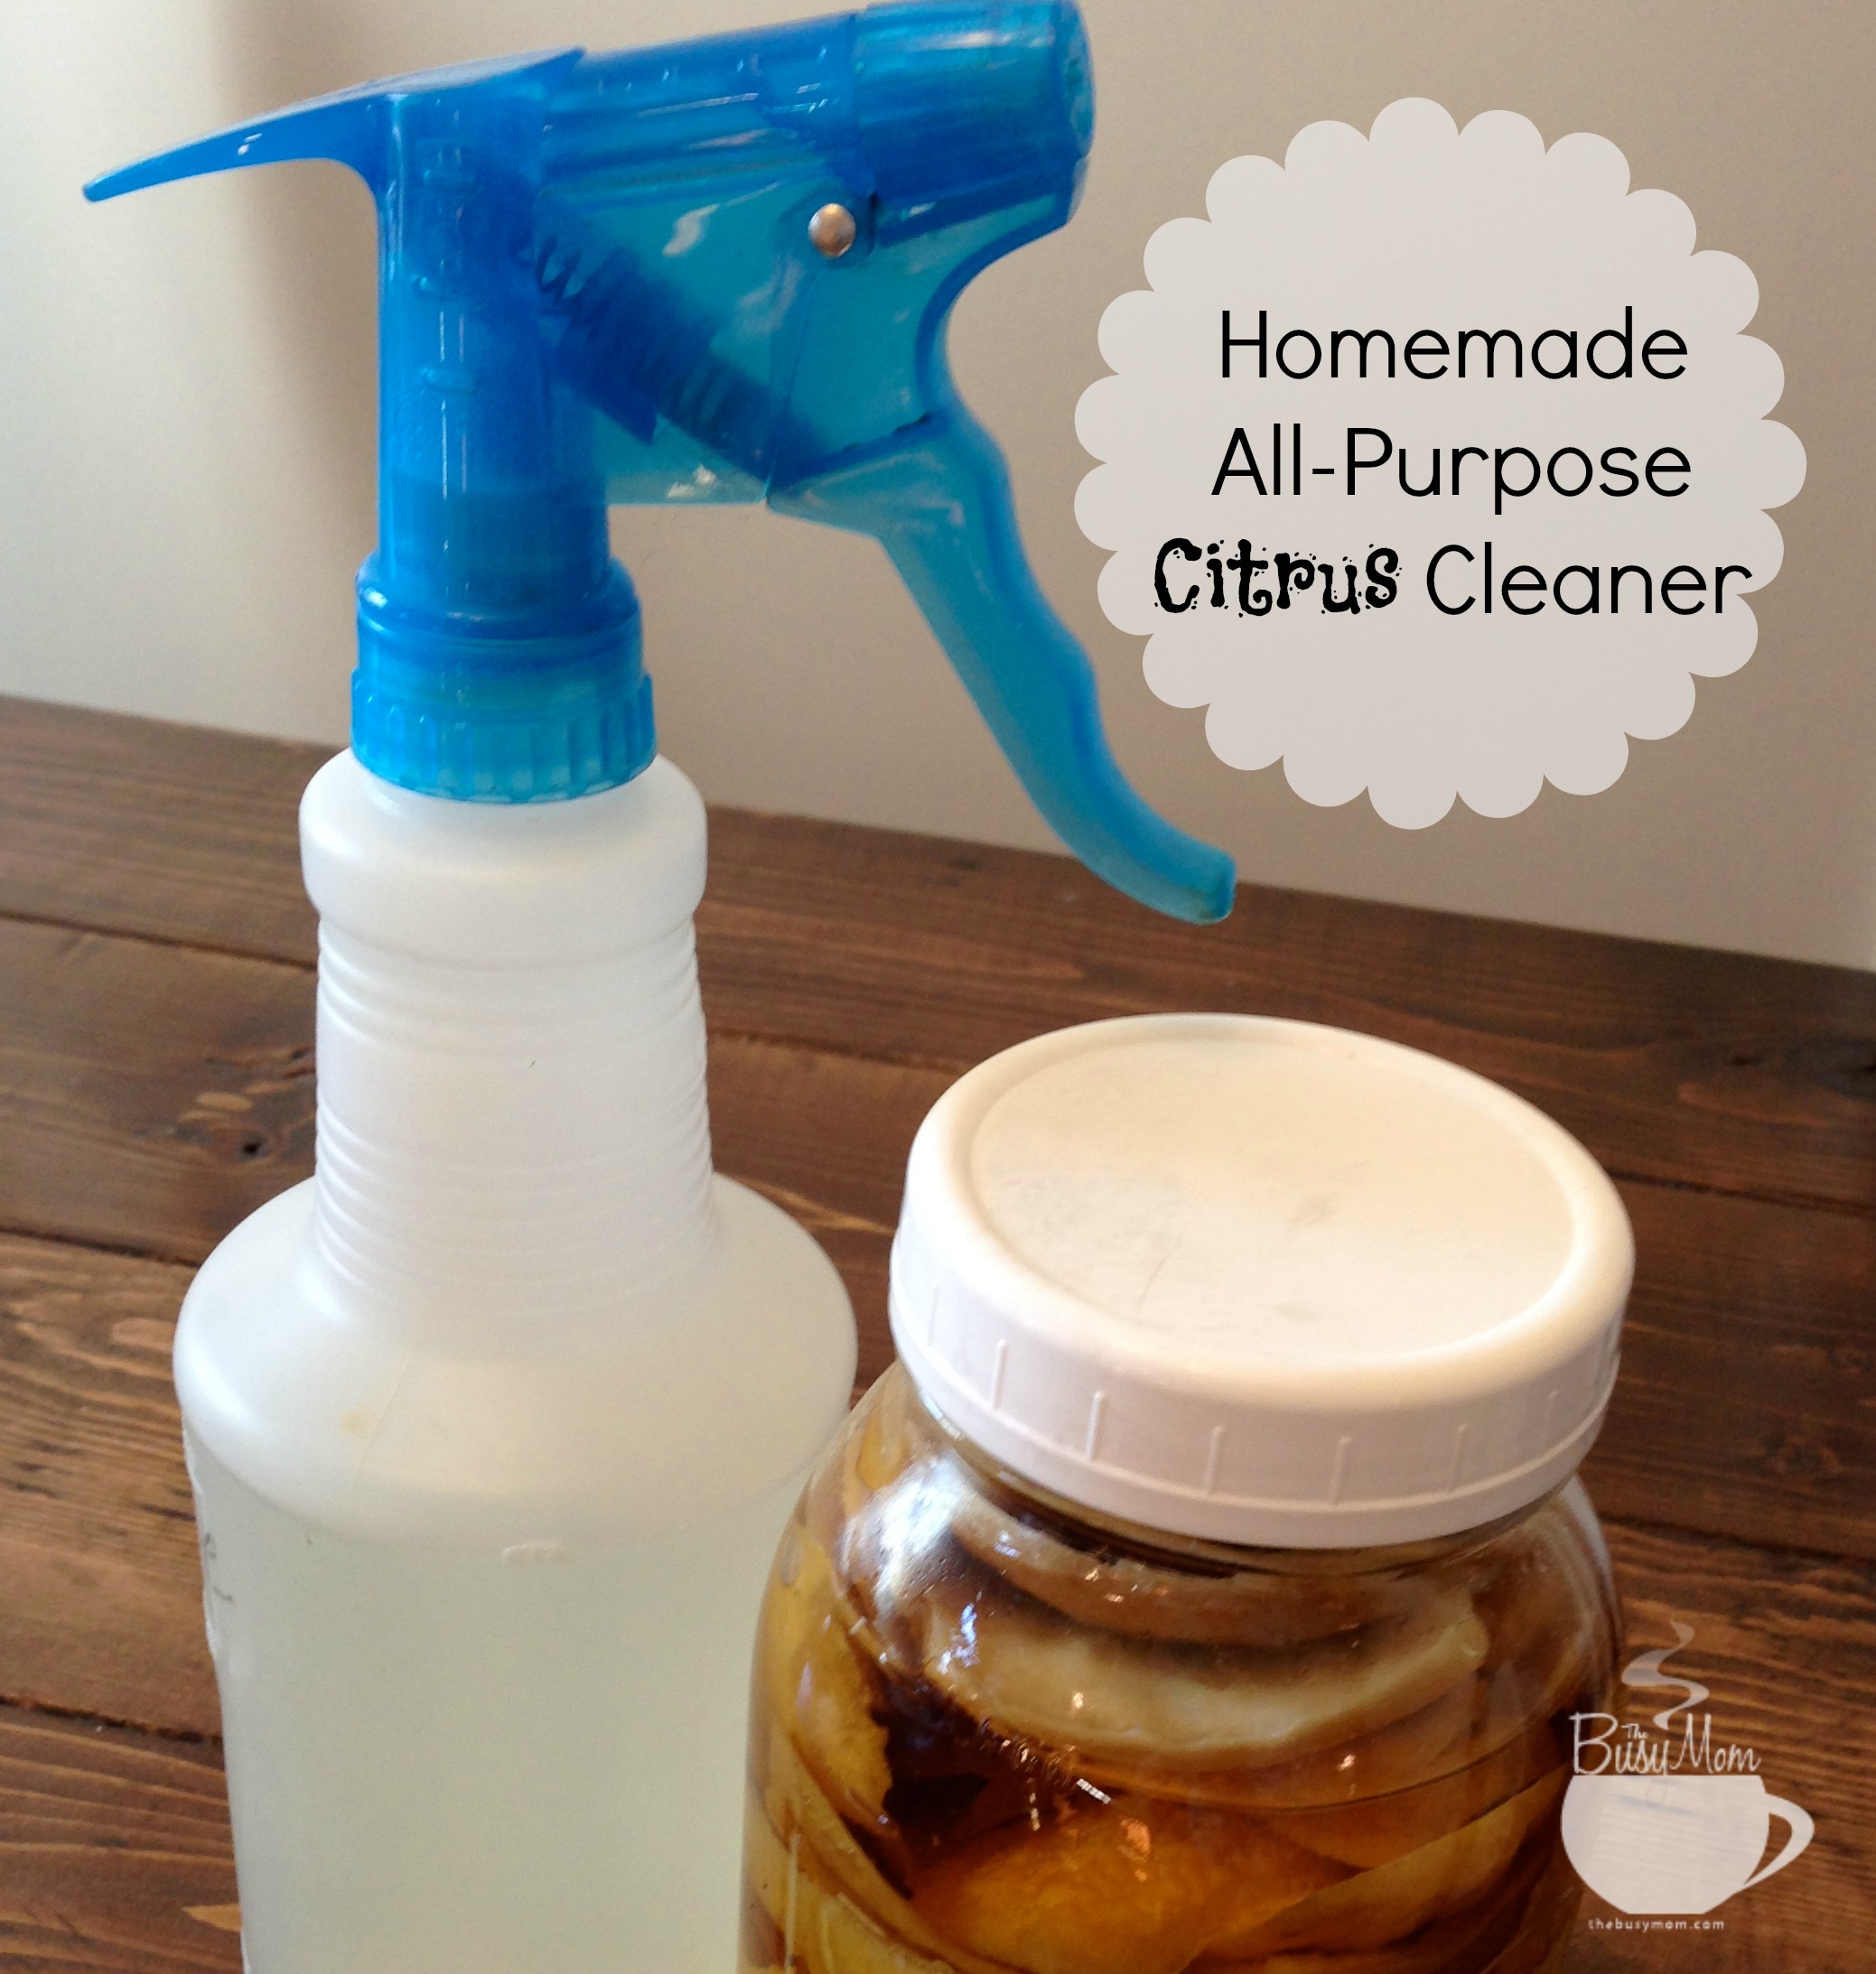
Homemade All-Purpose Citrus Cleaner @thebusymom.com

I can’t believe I’ve been using this cleaner for years and never had the idea to blog about it!  I guess because it is so SIMPLE that I don’t usually think people will be interested…but maybe BECAUSE it is simple some of you will appreciate the idea.

My secret ingredients??

White Vinegar + Citrus Peels

Do you already use white vinegar in your home? It is so useful in so many ways! Some of my favorite ways to use white vinegar are: all purpose spray, laundry, cleaning the coffee pot, cleaning any appliance, homemade mopping solution, deodorizing the garbage disposal, cleaning the microwave, and more!

Citrus peels!?!? Yes! Not only do citrus peels have powerful dissolvent in them, they also make any room just smell so fresh and clean! I noticed a difference in my cleaner when I started adding citrus peels to it – it actually cleans better! 

How I Make My All Purpose Citrus Spray

  1. Fill jar with citrus peels
  2. Pour white vinegar over the peels and fill up jar, close with lid
  3. Let the citrus and vinegar sit on a shelf somewhere for several weeks
  4. Pour into spray bottle and begin cleaning! (If the scent is too strong for you, dilute the cleaner with a bit of water)

It really is that simple! I have a lot of peel at my house because I love fresh lemon in my water daily and I’ve also been juicing for over a month now. So, I save all the peels from my clementines, navels, oranges and lemons to use in my cleaners!

More Notes

  • To clean your microwave, place a small bowl of white vinegar inside and run it for a minute. Take out the vinegar and simply WIPE CLEAN the insides! It all just wipes out so easily after that vinegar has been heated!
  • If you want to make more of a “scouring” cleaner, take your white vinegar and add BAKING SODA to it! Not only it is a fun science experiment for the kids to watch, but it’s a great, non-toxic cleaner! (There seem to be conflicting reports online about combining these 2 items, but I’ve had good luck with it, so just try it out and see if it works for you!) 
  • If you’d like to read more of my frugal ideas, I’d love for you to visit my little place on the web where you can read about our chickens, saving money on groceries without coupons and more!

signature_candace

Heidi St John Guide to Daylight

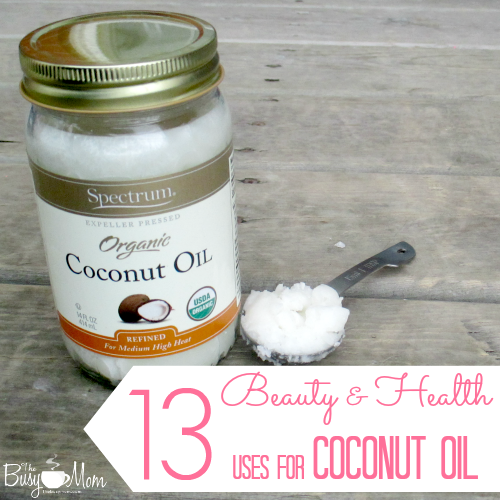
13 Beauty & Health uses for Coconut Oil

**This post contains affiliate links. Thank you for supporting The Busy Mom (at no additional cost to you)!**

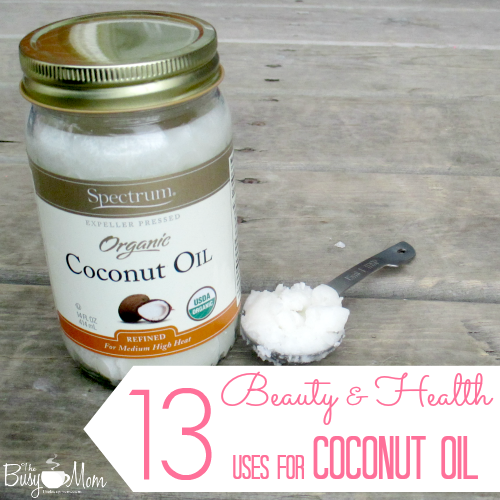
13 Beauty and Health uses for Coconut Oil5002

One of my favorite multi-purpose buys is Coconut Oil. We’ve all heard the benefits of Coconut Oil, and today I’m sharing with your some of my favorite ways to use it.

1-Drink it

Brew your favorite herbal tea and start with by adding a teaspoon of Coconut Oil. Gradually work your way up to a tablespoon. It doesn’t taste bad, but it does feel a bit oily when you drink it – so start off small until you get used to it. It’s great for digestion, skin hydration, and hair.

2-Cook with it

You can use Coconut Oil for almost any recipe that calls for vegetable oil or butter.

3-Shaving Cream Substitute

Some time ago I ditched shaving creams – they always dried out my skin and left it irritable. Sometimes I’ll use conditioner, but my all-time favorite is to use Coconut Oil as shaving cream. It leaves your skin feeling silky and smooth.

4-Hair Conditioner

Apply about a tablespoon to dry dirty hair. Wrap your hair up in a bun and either sleep with it that way, or leave it on as long as possible. When you are ready to take it out, shampoo it as normal. I like to do this one to two times a week (especially during the winter and summer months, which is when my hair gets affected by extreme weather temps the most). Your hair will be soft and shiny!

5-Scalp treatment

Dandruff? Dry/Flakey scalp? Grab some Coconut Oil, and rub it into your scalp. Leave it on as long as possible, and wash hair like you usually would.

6-Moisturizer

One tablespoon of Coconut Oil should cover your entire body, so start out with a small amount and just rub it in like lotion. I promise you it will leave your skin feeling soft and luxurious!! This is a great remedy to use when pregnant and you’re trying to prevent those stretch marks.

7-Make up Remover

I love using Coconut Oil as makeup remover, especially on my eyes. Mascara and eye makeup is sometimes hard to remove, and I don’t like roughing up my skin in that area since it’s so sensitive. With Coconut Oil and a cotton pad (or Q-tip), you’ll get your makeup and eye makeup off super quick. Plus, your skin will be left super moisturized! I love that it won’t cause you to break out either!!!

8-Eczema and Psoriasis

Both my daughters have had eczema. My oldest grew out of it pretty early on, but my second daughter has it bad. I’ve tried everything under the sun to relieve her from it. But Coconut Oil takes the win on this one. After rubbing it all over her body a couple of times, I was able to tame a really bad breakout that doctor prescribed creams couldn’t tame. Now it’s the only thing I’ll use on her eczema.

9-Anti-Wrinkle/Face moisturizer

Grab a Q-tip and dip it in some Coconut Oil. Apply gently under eyes, and then gently blot with your ring finger to spread it around the area of your eyes. Also apply to other target areas where you may have some fine lines. I usually just rub it all over my face –can’t hurt right?  I rarely use makeup after doing this, but you could if you wanted to leave it on all day. I would just blot the excess off with a towel, and then put my makeup on over it.

10-Lip Scrub

I LOVE making my own lip scrubs. To make it I mix Brown sugar, Coconut Oil, and a little bit of Honey. Don’t stir this too much, or you’ll dissolve all the sugar. I prefer brown sugar to white sugar because it’s a bit softer on my lips. To use, just blot some on your lips, and rub back and forth (sort of like brushing your teeth, but on your lips) until smooth. I like to use a soft baby tooth brush instead of my finger, but it’s up to you.

11-Lip Balm

This is a fun one to do. It’s a great DIY project if you have daughters too! Melt some Coconut Oil and put into a container. If you have a leftover Altoids container, that would work great! Add some powdered food coloring (the liquid kind won’t mix well with the melted Coconut Oil), stir til mixed, and let it harden. I like to toss it in the freezer or fridge to speed up the process. Then I let it sit out on the counter a bit so it resembles more of a Vaseline lip balm texture. I think you could add some essential oils to this too!

12-Anti-frizz serum

You want to grab as little as possible, but enough that it does its job. The key is that you don’t want to put TOO much, as to not make your hair look or feel greasy. Try to keep away from scalp, because that’s where hair gets oily faster. This is great for curly hair girls too!!

13-Scrapes

Coconut Oil is an awesome anti inflammatory (and it’s anti bacterial), just apply it over scrapes – and the Coconut Oil will soothe them instantly.


I’m sure this list could go on and on, but I’d LOVE to hear of some ways that you use Coconut Oil in your home!

P.S.  (This is Heidi) 🙂
About two years ago, a girlfriend of mine told me that coconut oil is a great substitute for personal lubricants such as KY. We made the switch and I’m so glad we did!  Coconut oil is fantastic for this purpose. My friend keeps hers little containers in her nightstand, in the shower and even in her car. Sounds like she’s got an adventurous marriage. I’m inspired!

Heidi St John Guide to Daylight

The Weather Outside is Frightful! Finding Motivation to Exercise When the Cold Weather Hits

Keeping up the motivation to exercise when temperatures are dropping and the mornings and afternoons are dark can be difficult. The blood slows and our toes are froze, it’s no wonder we want to forsake all thought of exercise and curl up under a warm blanket and sleep.  Who wants to go for a run anyway?!

brr cold weather

Awake, o sleeper, awake! This is the time to get your rear in gear! Don’t lose motivation or your focus over the cold weather months. These can be some of the best exercise days of your lives.

Just exactly what are the benefits to exercising during the wintertime, you ask?

For one thing, there’s no hot weather to make you sweat profusely (though if you’re working out hard you may anyway). And though your blood is cooling off, exercising in the cold actually makes your body work harder, so you’ll burn more calories than during the summertime.

Plus, if you’re moving it you’re going to lose it – pounds that is. It’s hard to put on extra Thanksgiving and Christmas dinner weight while briskly walking.

And you know how people tend to get more run down and sick in the wintertime? Exercise will actually boost your immune system, because you’re improving your cardiovascular and lymphatic circulation!

Not convinced yet? How about avoiding Seasonal Affective Disorder, otherwise known as The Winter Blues. Exercise can help, fresh air is even better!

While that all may sound really, REALLY good, just exactly what is the HOW of staying motivated to exercise? These are a few tips I’ve had to learn the hard way (by not doing them):

Finding Motivation to Exercise When the Cold Weather Hits

Buddy up, don’t go it alone

Get an exercise buddy! A friend, co-worker, spouse or even just an online friend who wants to exercise. Accountability is the fire behind staying on top and not slipping off.

Over the summer I ran with a friend who helped me to reach my goal of a 5k in November. Now our running group of two has grown and we’re continuing to run over the winter days (when it’s not too icy). It’s hard to put people off when they’re standing outside in the cold waiting for you!

There’s nothing like a little healthy competition to keep you going, too. You’re a lot less likely to take as many breaks or slow down when the person working out next to you (or even via FaceTime!) isn’t stopping either.

Find that person or those people who you can connect with on a regular basis, encourage and yes, sometimes force, to get moving. Make it someone you have a common goal with, such as maintaining good health, or a certain distance achieved, or an amount of weight to lose/maintain, someone who also has young children, whatever it may be. Just get an exercise buddy!

Don’t give in to the holiday laziness

My husband and I just started doing a workout program challenge with a group of people on Facebook that takes us through the holidays. It’s 5 days a week, 25 minutes a day of really hard work. And while I want to moan and groan about not being able to “rest” over the up-coming holidays, I know the benefits of staying focused and exercising daily help will combat the temptation to give in to all those Christmas cookies.

Don’t use the holidays as an excuse to quit exercising (or not exercise at all). Commit to staying moving and you won’t regret it!

Find what works for you

The same exercise program doesn’t work for everyone. Some people love running, others prefer cycling. Some people love cardio, others prefer weight lifting and circuits. The beauty of winter exercise is that there are a wide range of options to choose from!

You can go outdoors and enjoy everything from walking to skating to skiing, or stay indoors on an elliptical and use workout videos and weights. It’s better if you can take a well-rounded approach to exercise and incorporate a little bit of everything, but at least you have options!

exercise hurray

Change how you view exercise

Exercise is not optional. Our bodies need to be moving and grooving, not stationary. Especially not for long periods of time, as some winters may last a really looooong time. The cold weather isn’t going anywhere, but it’s time you did!

Don’t think of exercise as boring, and if it is, maybe you need to change the way you’re doing it! Switch it up and try a new sport or workout program, or buy something pretty to workout in (because if we’re feeling good in it, then we’re more likely to wear it and use it, am I right?).

Don’t think of exercise as just hard work, but as conditioning your body to work faster, stronger, higher, and greatly improve your health. Your family will thank you.

How do you stay motivated to workout during the cold months? What are some of your favourite ways to exercise in winter?

Heidi St John Guide to Daylight

Staying Fit During the Holidays

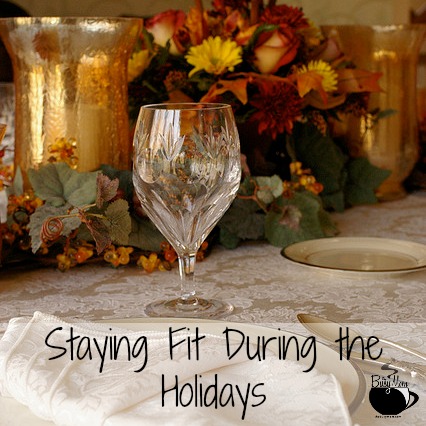
Staying Fit During the Holidaysphoto credit Rhett Sutphin on Flickr

Shock and disbelief are the usual reactions when I tell people that I started my weight loss journey three days before Thanksgiving 2009. “You started the week of Thanksgiving?!?” is the most common first response.

That’s because we think of the holiday season – Thanksgiving through New Years – as a time of overindulgence. There is so much food, so many parties, so many treats, and so much temptation. Most people go into the holidays hoping not to gain too much, forget trying to lose or maintain. The holidays don’t have to be such a time of struggle, though. Over the last four years, I’ve picked up some tips that help me navigate the holiday season without too much damage to my health and fitness goals.

1. Choose your favorites.

First, at big holiday meals, such as Thanksgiving, I choose only my favorite foods. The first year that I was losing weight, my favorites weren’t even the healthy options, for the most part. I’d rather have the dressing and sweet potato casserole instead of the green beans – so I did! I decided that eating the green beans to make me feel healthier was just going to add more calories to my plate.

I decided I’d rather spend my calorie budget on the yummy foods that I could only get during the holiday season. Besides, we live in the South. The green beans probably weren’t all that healthy anyway!

2.  Moderation is key.

This is a fact all year long, but particularly around the holidays. Since I had decided to only have my favorite foods and knowing the many of those were calorie heavy, I knew I had to exercise portion control. I found that a small serving of most foods really does satisfy the craving without going overboard or feeling deprived.

Even now, my kids know that somebody has to sacrifice two fries when we go out to eat. It sounds crazy, but those two fries allow me a taste of a food I rarely eat anymore (not as a full serving at least) without overindulging.

3. Change your tastes.

By the second year of my weight loss journey, I had started to successfully change my eating habits by developing a taste for new or healthier foods. Instead of the sugar-filled sweet potato casserole, I brought a much lighter sweet potato brulee to our family potluck. Instead of the calorie-laden broccoli casserole, I brought roasted broccoli. I also brought the green beans – of the fresh and steamed variety.

Everybody loved the changes. Well, except one cousin who asked that I bring the sugar-filled sweet potato casserole the next year. You can’t win over everyone. The green beans were a huge hit, though, and have been requested multiple times. I love when healthy tastes good!

4. Drink water.

When you’re eating more calories than normal, you don’t want to drink an excess of calories on top of that. Plus, if you drink a glass or two of water before you eat, you feel fuller, which goes a long way toward increasing your willpower. Another option is to eat a light, broth-based soup half an hour or so before your main meal.

5. Don’t skip your workout.

The busyness of the holiday season can easily derail a workout routine. Be sure you’re making time to be active. While everyone else is taking a post-meal nap, take a brisk walk. A quick internet search should reveal some early-morning turkey trots in your area. These 5K runs or walks have become very popular all over the country and are a healthy, invigorating way to start your Thanksgiving day.

6. Focus on the true meaning.

Finally, make sure that you take some to focus on the true meaning of the holiday season. Thanksgiving is a day to give thanks for our blessings. Health is an incredible gift that we often take for granted. The ability to get out and go for a walk or a run is a blessing for which to be thankful.

Christmas is a time to celebrate the birth of our Savior. We can do that without cookies, candy, and fruitcake.

As the holiday season approaches, instead of feeling overwhelmed and defeated, use these tips to help you navigate the temptations and challenge yourself to make wise food and activity choices. Come January 2, you’ll be glad you did!

Heidi St John Guide to Daylight