Category Archives: Recipes

Grilled Chicken Fettuccine Alfredo {with a yummy twist}

fettuccine alfredo with grilled chicken dinner at night


Busy moms need “go-to” recipes, don’t they?  Tried-and-true recipes that you can make over and over.  This—is that—at our house.

In fact, whenever we all get together, this is a big-family favorite. I’ve lightened this one up a little from the first time I made it, because I have discovered that with the right spices, you don’t need the very heavy creams etc.

As you will see in the pictures below, at the time I cooked this, we had a houseful. Three generations! This recipe is for my daughter, Savannah. It’s been a lot of fun to hear of her own cooking adventures as a young wife and mother.

Cooking together is good for the soul~ soul food!  Enjoy!
signature-heidi


Continue reading →

Best Slow Cooker Chicken Soup {ever in the history of the world}

Okay. I admit it.

I’m a soupie. I love soup. If you’ve read my blog before, this should come as no surprise.

Chicken soup makes my heart and my tummy especially H A {double P} Y.

I’ve experimented with a few different variations of chicken soup over the years. This is our family fave. If you don’t have the brewer’s yeast, it’s okay. Just try and have some in your pantry all the time, because (a) it’s good for you and (b) it’s yummy on popcorn.

I wish someone told me about it years ago. I mean, when something’s this good—ya gotta share, right?  So here we go!

Word of advice for soupie newbies: When you take the chicken out of the plastic … be sure to remove the baggie of goodies from the chicken’s cavity. I have cooked it with the junk inside and we didn’t die—but still. Take it out. Some folks save it for chicken broth. I toss it. But that’s just me.

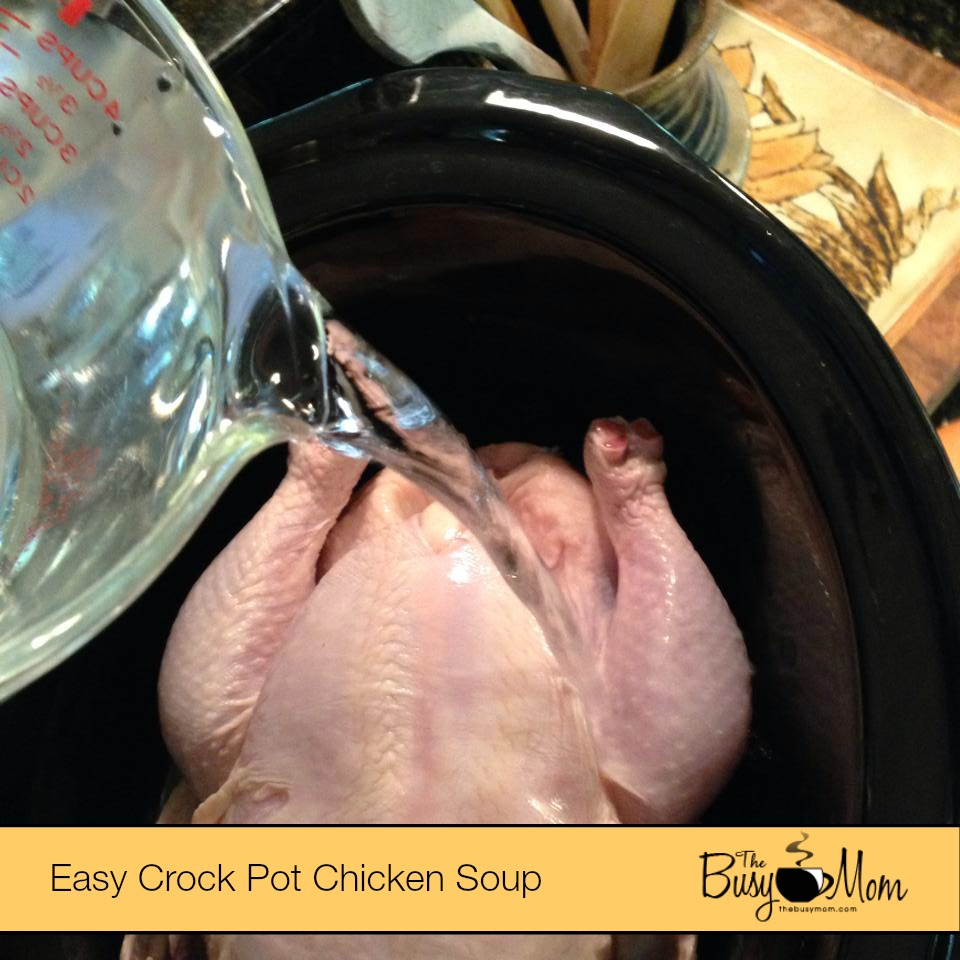
Turn your crockpot to low if you have at least six hours. Otherwise, high will do nicely. Put your chicken (breast side up) into the slow cooker. By the way, I just purchased a new one and I’m LoVInG it!  This one is an 8 quart beauty. Pour water in.


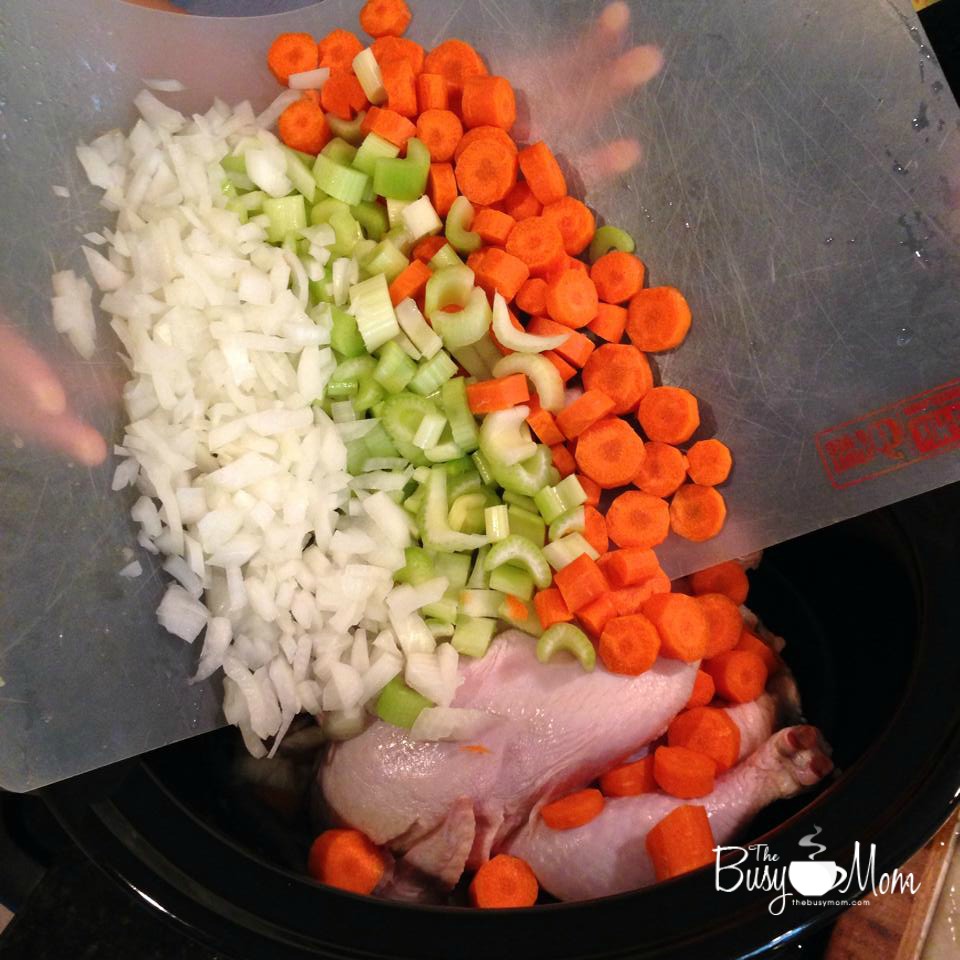
While your bird is sitting there, dice your veggies. I use one board (it’s plastic) and then dump them in all at once. VOILA.


At this point, I cover the chicken with all my spices. This time, I mixed the salt, pepper, marjoram and sage with the brewers yeast and put them in at the same time.   You’re done.  Let it cook for 4 hours on high or 6-7 hours on low. Be sure the chicken is covered in water. This water is your broth!

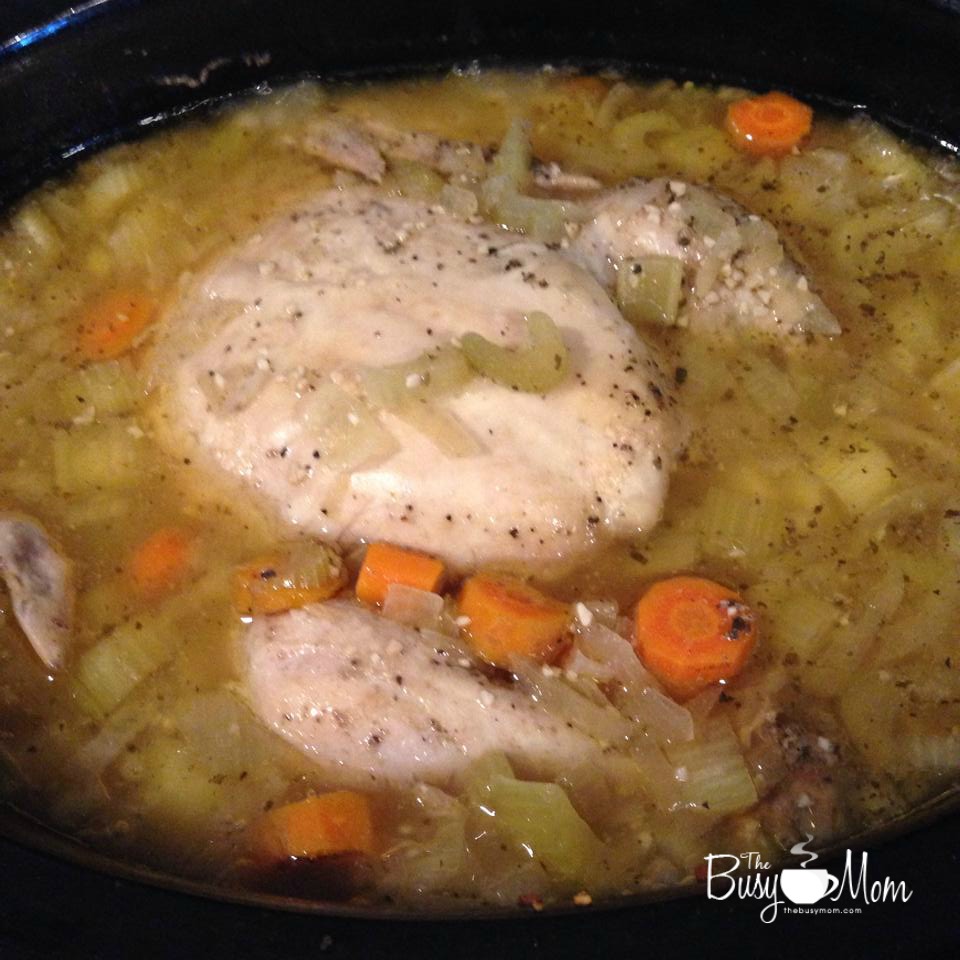
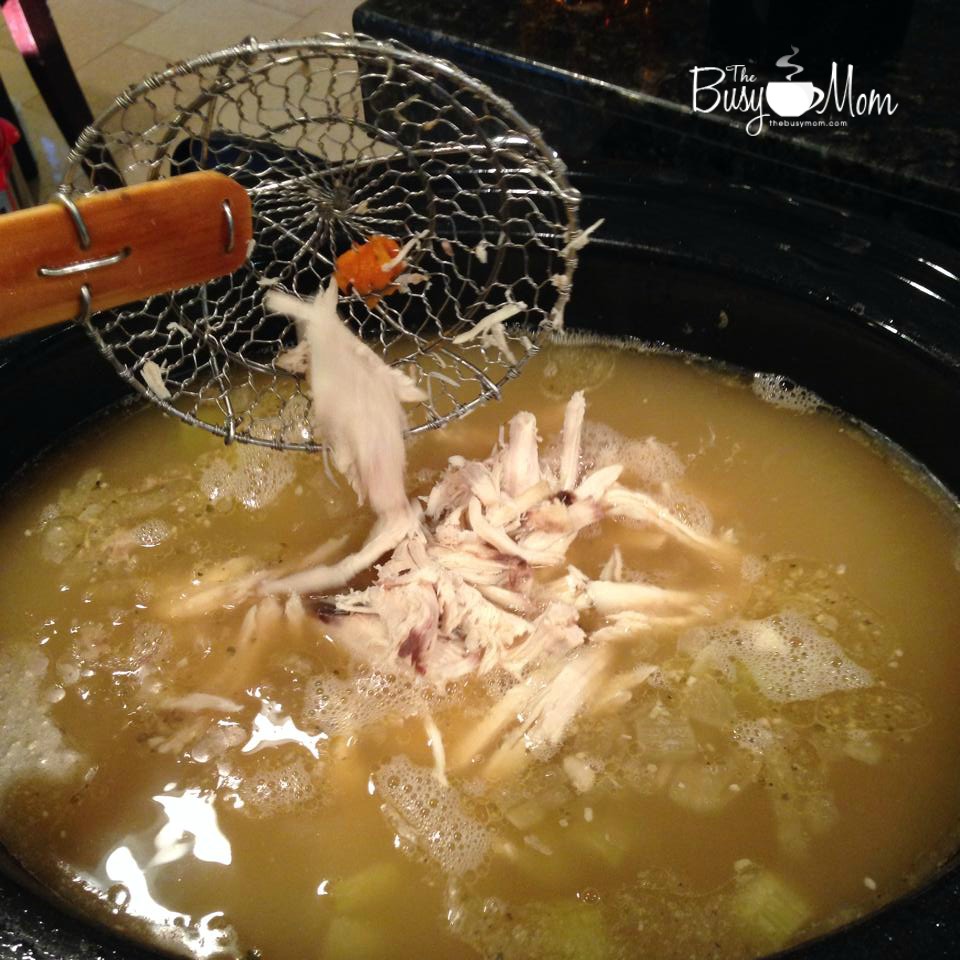
This is what it looked like just before I took it out of the crock pot.  Man I wish you could smell this. Your mouth would be watering.

chickensoup_done_pot


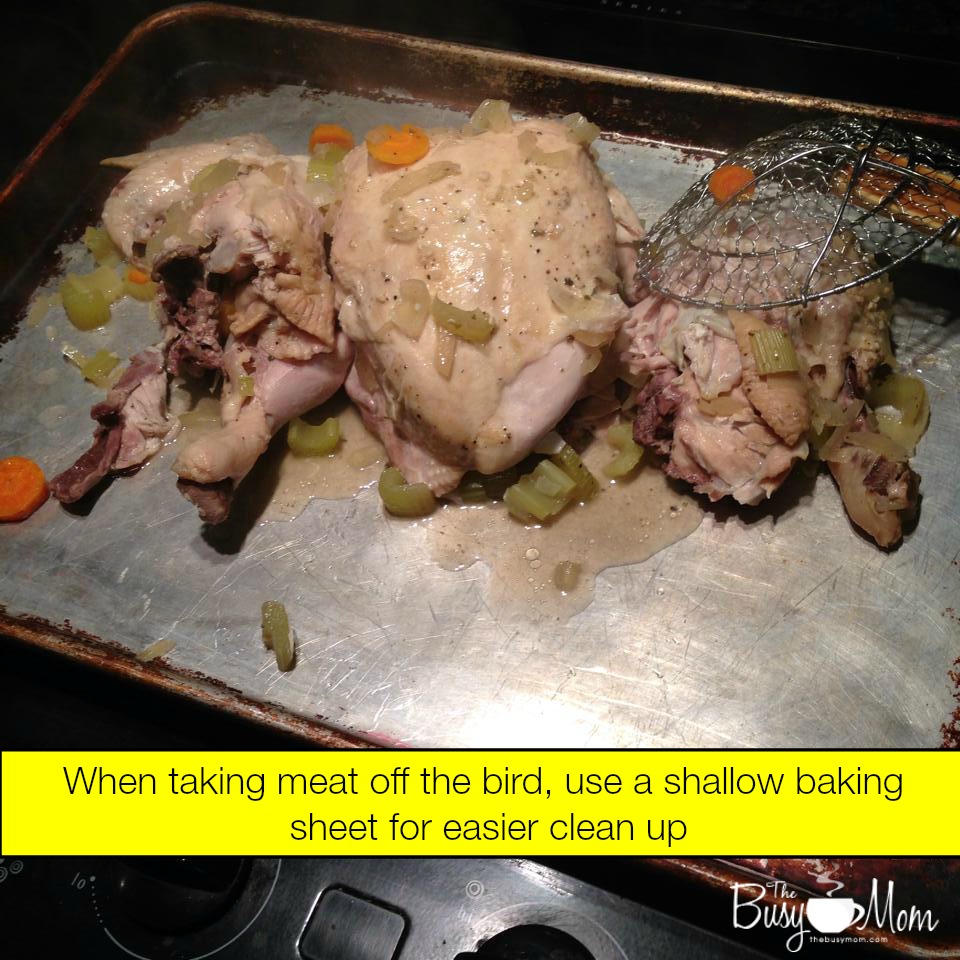
When it’s all done, the meat should be falling off the bones. At this point, I take my chicken and put it onto a baking sheet that has a small lip. This way, the juices stay on the baking sheet and don’t go dripping onto the floor.


Yes. I learned that the hard way.  You’re welcome.

Take the meat off the chicken and add it back into the broth. I like to skim the fat off the top of the soup, but with this chicken I didn’t notice much fat. I tried Kirkland’s organic. Mmmm…good.
Serve with some toasted garlic bread and/or a simple tossed salad.

Healthy, delicious soup is just a few hours away! You can do it!

Enjoy—
…and so, to recap…

Slow Cooked Chicken Soup

  • 1 whole chicken (you can cook from frozen) be sure to remove the “insides” from the cavity
  • 1 bunch celery, rinsed and diced
  • 1 large yellow onion, diced
  • 6 carrots (give or take)
  • 3 tsp salt … you can add more later so go easy for now
  • 2 tsp pepper  ^^ see above^^
  • 1/4 cup brewers yeast (adds a wonderful flavor to your soup and it’s really GOOD for you!
  • 2 tsp garlic
  • 2 tsp marjoram
  • 2 tsp sage
  • 9 cups water

Where’d she get that?

Brewer’s yeast
Hamilton Beach 8-qt slow cooker
In a hurry? Try pressure cooking!


Easy {and delicious} Slow Cooker Spaghetti Sauce

Want to make your family think you’re gonna have your own show on the Cooking Channel? Make your own spaghetti sauce, baby!

{yeah. that will do it.}

Here’s THE BASIC recipe:
serves 10

Ingredients:

  • 4 cans tomato sauce (I like Kirkland’s organic)
  • 3 cans diced tomatoes (drain the liquid before adding)
  • 2 lbs ground beef
  • Salt and pepper to taste for ground beef
  • 2 yellow onions, diced
  • 3 cloves garlic, diced
  • olive oil
  • 3 tsp dried basil
  • 2 Tbsp Italian seasoning
  • 4 bay leaves

Instructions:

  1. Dice your onions and garlic. Put about 2 tablespoons of olive oil into a pan and sauté until a little brown. YUM.
  2. Add ground beef—and season if you like. I add salt and fresh ground pepper at this point. Then I try not to put the cooked ground beef into a bowl and eat it for lunch. {requires self-control}
  3. Breathe deep—you are already on your way to being a spaghetti sauce superstar.
  4. While the ground beef is cooking, put the rest of the ingredients into your slow cooker. Be sure to drain the diced tomatoes. You don’t need that extra water in your sauce.
  5. When the onion, garlic and beef deliciousness is cooked fully, dump it into a strainer and get rid of any excess grease or liquid.
  6. Add to sauce. It may look very thin at first but after it’s cooked a while… it will thicken up nicely.
  7. Cook on low for 6 hours or high for 3. The point is that you want it to bubble and blend all the flavors together.
  8. Serve with your favorite pasta. I’ve become a fan on quinoa pasta… healthier version and the kids love it.
  9. Serve with french bread and steamed green beans. VOILA! {Super-yum.}

BUSY MOM TIP: Keep your pantry stocked with things like tomato sauce and diced tomatoes using Amazon’s Subscribe and Save. I do this for several of my pantry faves—saves time and money!

If you want a little more PIZAZZ:

  • 1 lb ground Italian sausage
  • 1 can black or green olives …. or both!
  • 1 tsp red peppers
  • 2 tsp oregano

Cook the Italian sausage with your ground beef.

Add whatever else you like to the sauce.  Change it up!

This is a crowd pleaser. It will feed 10 but here’s the thing: YOU CAN FREEZE LEFTOVERS beautifully! So make a ton and have the rest on hand for later.

Enjoy!

Frugal Family Meals: 1 Chicken, 3 Meals

With a growing family of 6, it is always a challenge to make a meal stretch further than one sitting. I usually try to eke a leftover lunch or two out of one dinner, or we take leftovers from the week and have a day of eating from the fridge. It’s always interesting to see the combinations we can come up with when all we have to eat are leftovers!

One of the easiest ways to make a meal last is using a whole chicken. You would be amazed at how much meat there is on one bird! We typically buy a 3-pack of chickens from Costco (just the regular ones, though depending on your location, the organic birds are often available, and bigger!) once a month or so and make them stretch quite easily. It’s not only a frugal way to eat, but also very tasty.

These are 3 of our favourite ways to use 1 chicken for 3 meals.

Frugal Family Meals 1 Chicken, 3 Meals

Roast Chicken and Vegetables

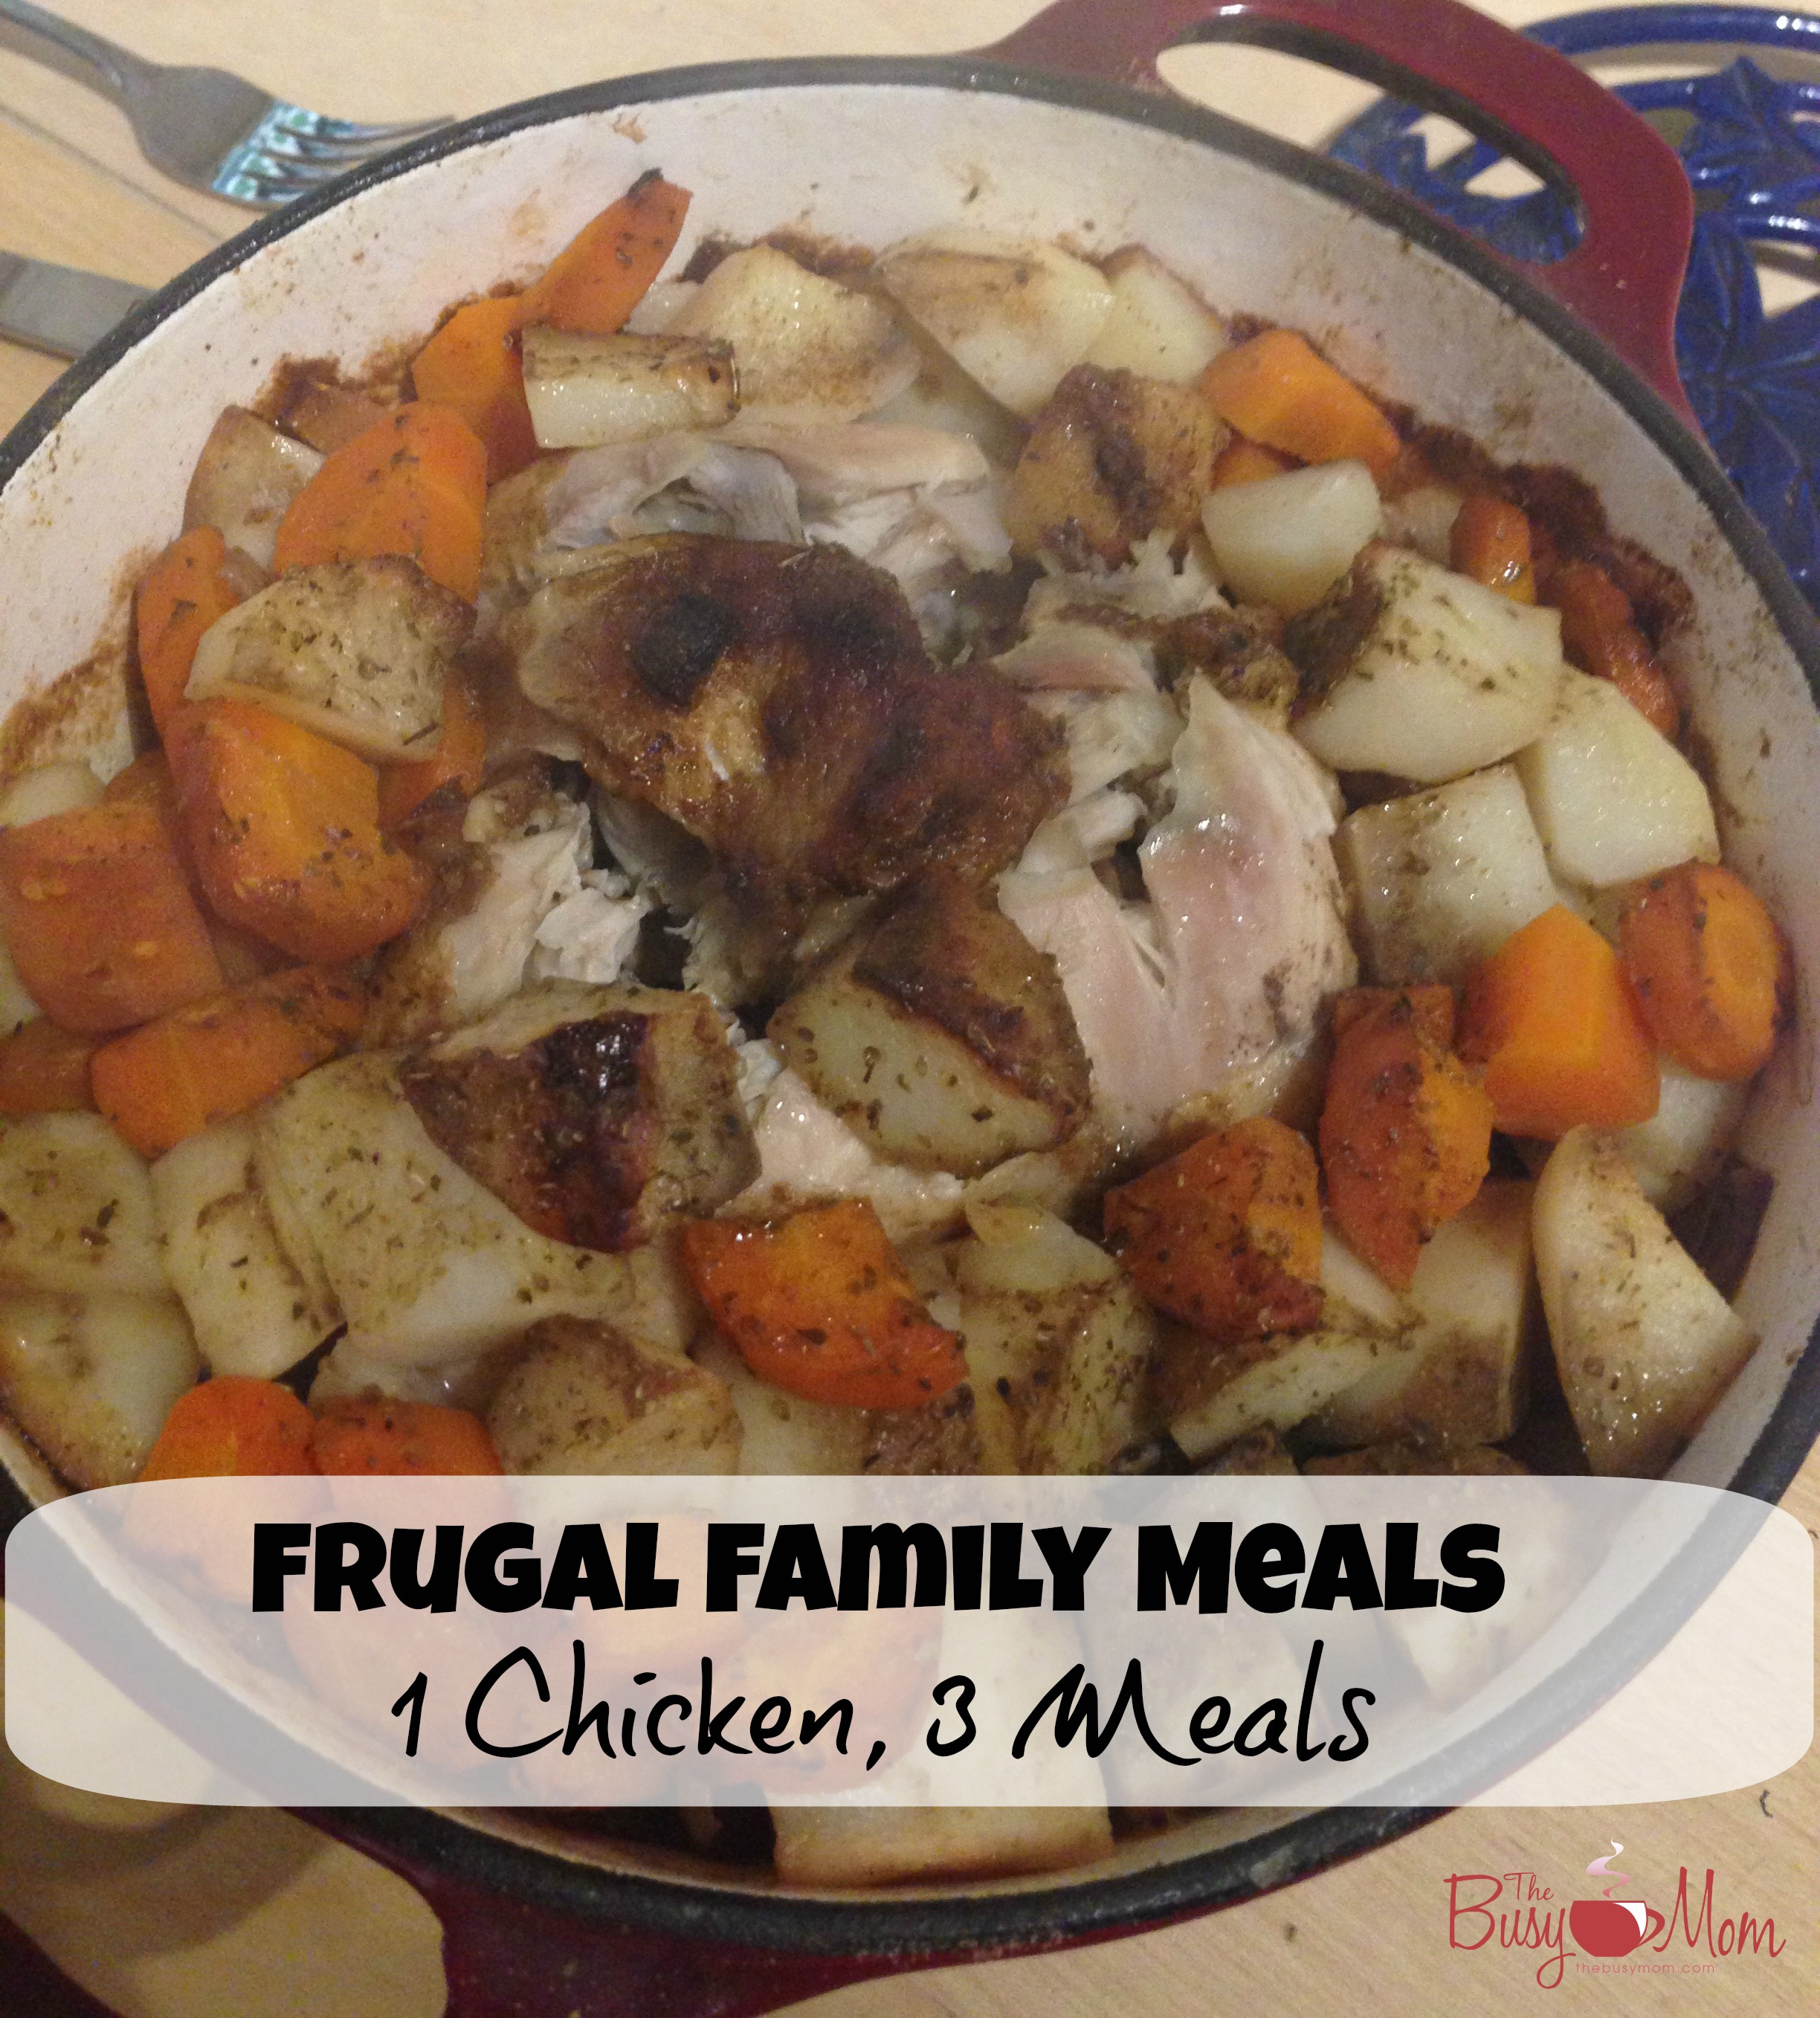
A simple roast chicken in a Dutch oven is so mouth wateringly delicious and comes together in under 2 hours.

Prepare your whole chicken by making sure the goody bag often stuffed inside is removed (unless you like eating that stuff :D). Wash the chicken (skin on – keeps the moisture in!) and pat dry with a paper towel.

Oven Roasted Chicken

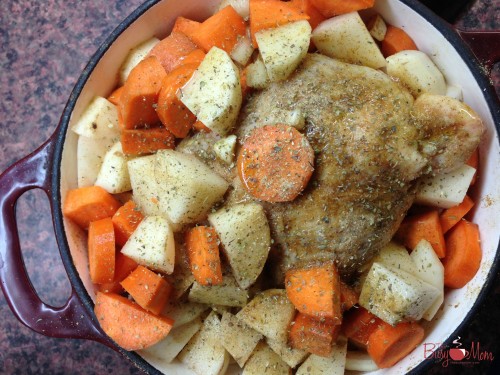
Place a few garlic cloves, about 1/2 cup chopped carrots, celery and onion inside the chicken. Rub inside and out with olive oil. Sprinkle all sides with Dutch Kip Kruiden chicken spice rub (SO DELICIOUS!) or salt, pepper, rosemary and thyme. Make a few slits in the skin and rub some spice under the skin.

Place some of the chopped veggies on the bottom of the Dutch oven. Place chicken on top, then fill remaining space with the remaining veggies. Drizzle with olive oil.

Cover and cook the chicken at 425 degrees for 1 – 1/2 hours.


Curried Chicken Salad

Curried Chicken Salad

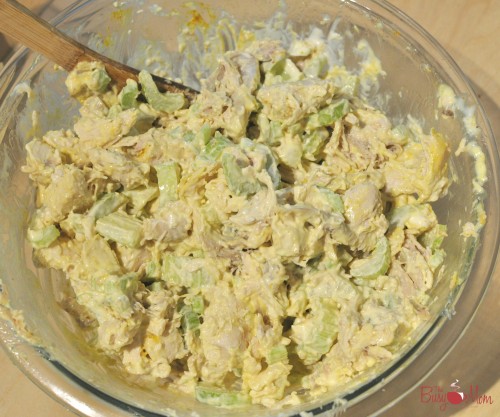
This recipe is very similar to the leftover Turkey Salad – only this time you’re using chicken!

Chop up 4 cups of leftover chicken into pieces, add 1 chopped celery rib, 1/2 cup cranberries (optional), 1/2 – 3/4 cup mayo, salt, pepper and curry (to taste). Mix together and serve.


Chicken Stock = MULTIPLE Meal Options!

Healthy Chicken Stock

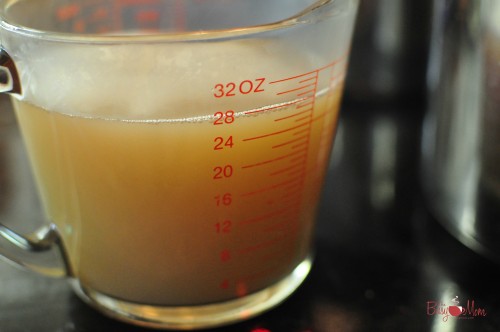
1 chicken makes about 2 1/2 quarts of chicken stock – that’s more than enough to make a hearty chicken soup or lentil stew.

Place remaining chicken bones – fat, tendons and all the liquid and drippings from the roast chicken – in your crock pot. Add some chopped onion and garlic. Cover to about an inch from the top with filtered water and add 1 tablespoon apple cider vinegar.

Place crock pot on low for 12-15 hours (the longer the better! Sometimes I even do 20 hours, though others do only 8). Drain off the liquid, saving the chicken parts for a second batch.

Cover again with water (if the amount of chicken has decreased to fill the crock pot less than half, reduce the amount of water) and cook again on low for 12-15 hours.

Store chicken stock in the fridge to make chicken zoodle soup (substitute wheat noodles for zucchini noodles), lentil stew, or freeze in ice cube trays for future use. If you make your stock without onion and garlic, you can even add a cube to your morning smoothie for an extra healthy boost.

What are your favourite ways to stretch a meal?

Chocolate Applesauce Muffins

Chocolate Applesauce Muffins

Earlier this year, our husband gave ourselves a challenge to eat real food only throughout the period of Lent (and hopefully beyond!) We are fed up with the impact that our diets have on our family and health. I was tired of the junk food marketing to kids, and tired of my own disordered eating and food addiction.

So, we decided to do away with processed foods and eat real food only. We’ve had some slip ups during that time, but overall it has been such a wonderful change for our family.

We didn’t cut out sugars, but we limit them and stick to natural ones, which we consider to be maple syrup and honey. This was especially fun since we harvested and cooked our own maple syrup this year!

Anyway, so I have been modifying recipes left and right to accommodate our new eating standards and thought I’d share this one with you today. Don’t let the “real food” or “healthy” labels fool you–these are delicious! They are light, and sweet, but not too sweet.

Chocolate Applesauce Muffins

What you need:

  • 1/2 cup butter
  • 1/2 cup maple syrup
  • 2 eggs
  • 1/2 cup cocoa
  • 1 1/2 cup unsweetened applesauce
  • 1 3/4 cup whole wheat flour (I use white whole wheat)
  • 1 tsp baking soda
  • 1 tsp baking powder
  • 1/2 tsp salt

What to do:

  1. Preheat oven to 325 degrees.
  2. In a small bowl, combine flour, baking soda, baking powder, and salt. Set aside.
  3. In a large mixing bowl, cream butter and maple syrup. Add eggs and beat well. Add cocoa and mix well. Fold in applesauce.
  4. Add dry ingredients to wet mixture and stir until just combined.
  5. Spoon batter into muffin tins and bake at 325 degrees for 25-28 minutes.

Enjoy!

signature_crystal

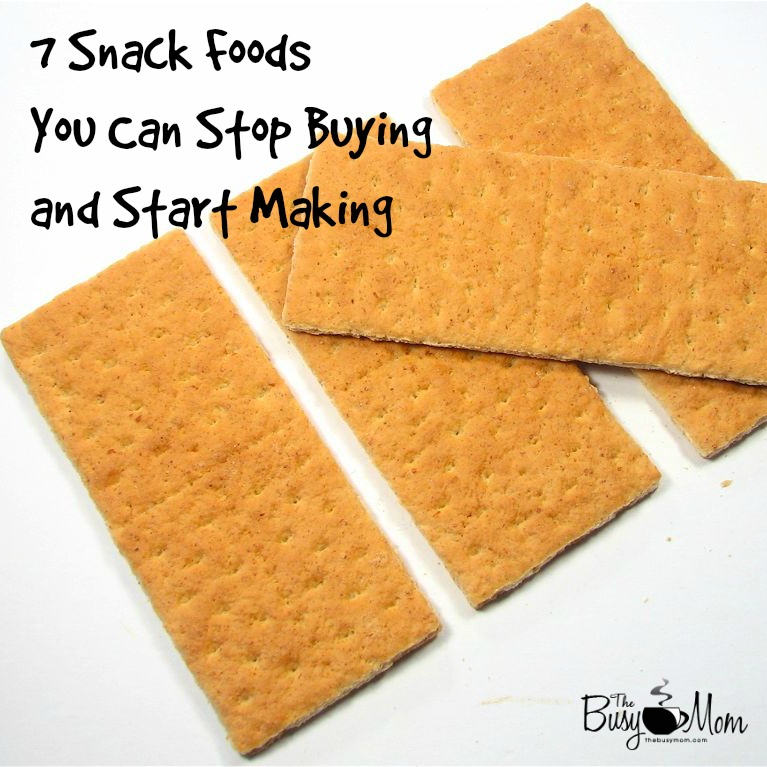
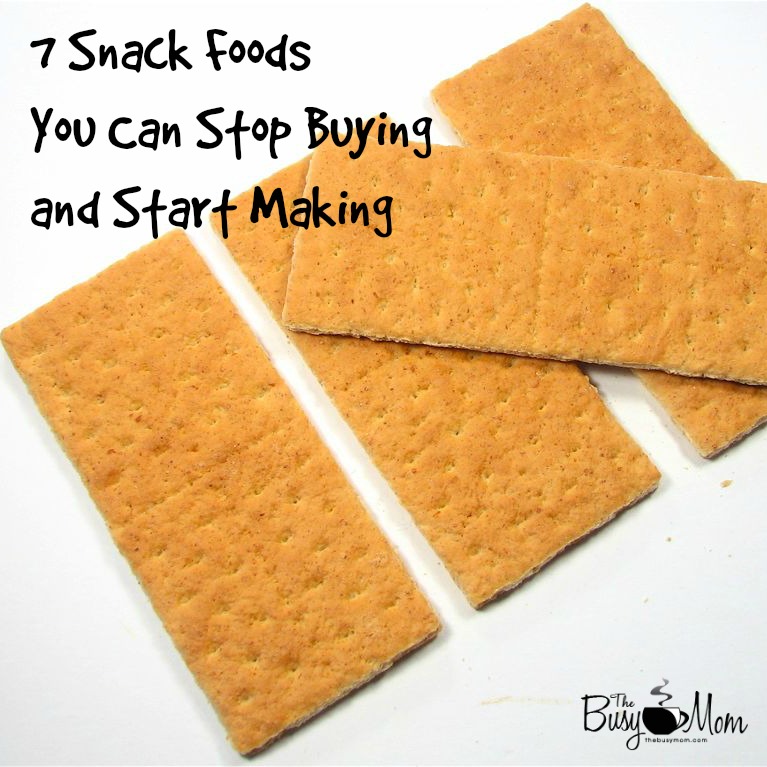
7 Snack Foods You Can Stop Buying and Start Making

7 Snacks Foods

We have managed to reduce our grocery budget by more than $50 per month by changing ONE thing – instead of buying snack foods, we are making them ourselves!

It is amazing how easy it really turns out to be, once you have the tools and tricks to help you get started. And if someone has already done the testing ahead of time for you, even better! Because then you KNOW a recipe is actually good and something your whole family will enjoy.

Yes, it takes a little bit more work to make your own snack foods than to run out to the store and buy them. But the benefits of taking in less processed food AND saving money are well worth it. (Plus, if they aren’t as readily available, you’ll be forced to eat less of them anyway ;D)

These recipes aren’t difficult to make – however, you may find yourself having a hard time keeping them around ;0) But don’t worry, at least you know what’s in them.

7 Snack Foods You Can Stop Buying and Start Making

Bagels

Homemade bagels are a great snack option, especially when you make them mini cinnamon raisin, then slice them thin and crisp in the oven with butter. So delicious! We make our bagels by hand rolling them, and they’re finished in about an hour. It’s pretty impossible to not eat them hot off the tray.


Cookies – Oreos, Animal Crackers and Graham Crackers

I’m from Canada, and our Oreos are better than the American Oreos – sorry, but it’s a fact! Ha ha! Actually, we think it is the filling that is used in our Oreos that make them taste as good as they do. While I haven’t been able to find a really good recipe to duplicate the Canadian Oreo flavour, this homemade Oreo recipe without shortening and this Oreo recipe from Bakerella are both pretty tasty!

Animal crackers and Graham crackers are LOOOOOOADED with sugar – I think that is what makes them so tasty and appealing. You will not be disappointed if you make your own. The same great flavour is there, with far less sugar (and again, you may eat more of them, so just be prepared to put a limit out there after…say…. a handful or two?).


Granola Bars

Homemade Granola Bars

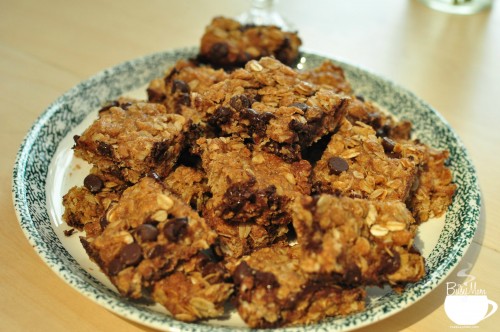
No more foil and plastic packaging kicking around the lunch bags. Granola bars are so quick and easy to make. You can use pre-made granola, or make your own homemade granola into a bar, or just use a straight-up oats recipe. There are so many easy variations, but these Kid (and Adult) Friendly granola bars are just right.

Hummus

We eat a lot of hummus. Our kids and the hubby and I LOVE it! I’ve tried a few recipes to get just the right flavour, and HANDS DOWN the hummus recipe from Aimee at Under the High Chair is the best for texture and flavour.


Pretzels

A favourite snack or even lunch item has become pretzel bites. We like to make the whole wheat soft pretzel bites or a wheat and all purpose flour pretzel. Savoury, salty or sweet, you decide the toppings!


Snack Crackers

Wheat thins and goldfish crackers are a big favourite around our house. Who knew that to replace the massive amounts of sugar, salt and preservatives for a great taste would take only a few ingredients and nothing fancy?

Try these cinnamon honey wheat thins to hit your sweet tooth, or a more basic wheat thins recipe to which you can add more flavours.

For the kids in your family (or you!) make these goldfish crackers with a little trick on how to make your own goldfish cutter out of foil.


Yogurt

Homemade Yogurt

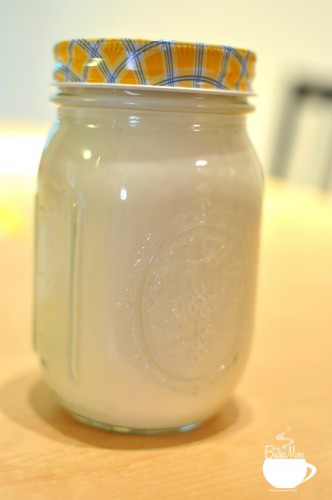
It’s so easy. Really. Especially when you have a good recipe! I’ve tried a lot and haven’t found one quite as successful as the yogurt recipe from my friend, Trina Holden. Scald the milk, add the yogurt and incubate on the counter overnight – done!

signature_lauren

Easter Dinner Menu Plan

For generations, food has been an important part of celebrations and traditions.   There is a comfort in eating certain foods on certain days, cooked the same way you always remember.   You probably have your favorite birthday cake or dessert, Christmas meal and cookies, and other special foods for special days.  I used to think that it wasn’t THAT big of a deal, especially when the kids were little. It sometimes felt like SO much work to make the effort.  And there ARE times to exchange the tradition for something less stressful if it keeps the heart of the celebration from being lost. I remember we traded our traditional home made Thanksgiving feast for one bought at Safeway because I had just had our fifth child.  I was really thankful for that store bought meal, but the next year, we appreciated the home made one even more!  And the older our kids get, the more they more they look forward to these traditions.

That being said, I want to share one of our favorite (and easiest) Easter and Christmas meals.  We love this one because things can be made ahead of time which comes in handy especially on these particular holidays.

So here is the menu:  Spiral sliced ham, Gen’s Potatoes, Grandma’s Crescent Rolls, Curried Fruit and steamed Green Beans.

A day or two before the holiday:

Grandma Gen’s Potatoes

Prepare a buttered 9×13 pan

10 medium potatoes, cooked and mashed (don’t add liquid to them)

Add and beat til fluffy:

1 pkg cream cheese

8 oz sour cream

1 package Ranch mix(this works the best) OR 1 t. garlic powder

salt to taste

Place mixture in 9×13 and add 1/2 c melted butter(you can use less, it just might not have quite the crisp on top) and sprinkle with paprika

At this point, you can cover (when it cools a bit) and place in the refrigerator for 1-2 days ahead of time!

Bake at 350 degrees for approximately 45  minutes, if refrigerated or 30 minutes if baking immediately.  Edges should be lightly browned.

Durenda Wilson Busy Mom

Grandma’s Crescent Rolls

Dissolve one package of dry yeast in one cup water

Melt one cube of butter

In mixing bowl beat three eggs.  Add 1/2 c sugar and 1 t. salt

Add yeast mixture

Add melted butter

Add 4 1/2 c. of all purpose flour (or half wheat/half white flour)

Store in air tight container until ready to roll out.  Roll out in 2 circles.  Cut each into 12 pie-shaped pieces.  Roll into crescents.

Place on greased cookie sheets.   If you want to go ahead and bake them, let rise 2 hours or until doubled.   Or at this point you can freeze them. Then you can just let them rise on the counter overnight and bake them in the morning. Bake 10-12 minutes at 350 degrees.

crescent rolls TBM wm

Day of:

The Spiral ham we buy from Costco ( a no brainer)-this goes in the oven for about 1 1/2 hours. (Don’t forget to put your potatoes in about 30-45 minutes after the ham goes in)

Curried Fruit–this goes amazingly well with the ham and potatoes.  Not something I would have put together, but my husband’s mom has made this meal for years and it’s always a big hit.

In a 9×13 pan (OR large saucepan on the stove if you are low on oven space) place:

1 can of peaches (half drained)

1 can of pears (half drained)

1 can pineapple (half drained)

Melt 1/3 c butter, 1/3 c brown sugar and stir in 1 t. curry powder and pour over the fruit.  Bake until heated through.

Green Beans I find the best and freshest from Costco as well.  You can use frozen, but they aren’t quite as tasty.  I usually steam them for about 4-5 minutes so they aren’t completely limp.  Then add a couple Tablespoons of butter and salt to taste.  Sometimes we throw some real bacon bit in for extra flavor.  The taste goes well with the ham.  Make this in the last few minutes before dinner.

We hope your family enjoys this meal as much as we do!  Happy Easter!  He has risen!  He has risen indeed!